


Overview
KubeDB is the Kubernetes Native Database Management Solution which simplifies and automates routine database tasks such as Provisioning, Monitoring, Upgrading, Patching, Scaling, Volume Expansion, Backup, Recovery, Failure detection, and Repair for various popular databases on private and public clouds. The databases that KubeDB supports are MySQL, MongoDB, Kafka, MariaDB, Elasticsearch, Redis, PostgreSQL, ProxySQL, Percona XtraDB, Memcached and PgBouncer. You can find the guides to all the supported databases in KubeDB . In this tutorial we will Deploy Production-Grade MariaDB Cluster in Rancher Using KubeDB. We will cover the following steps:
- Create a Kubernetes Cluster via Rancher
- Access Kubernetes Cluster with Rancher UI
- Install KubeDB
- Deploy MariaDB Cluster
- Read/Write Sample Data
Create a Kubernetes Cluster
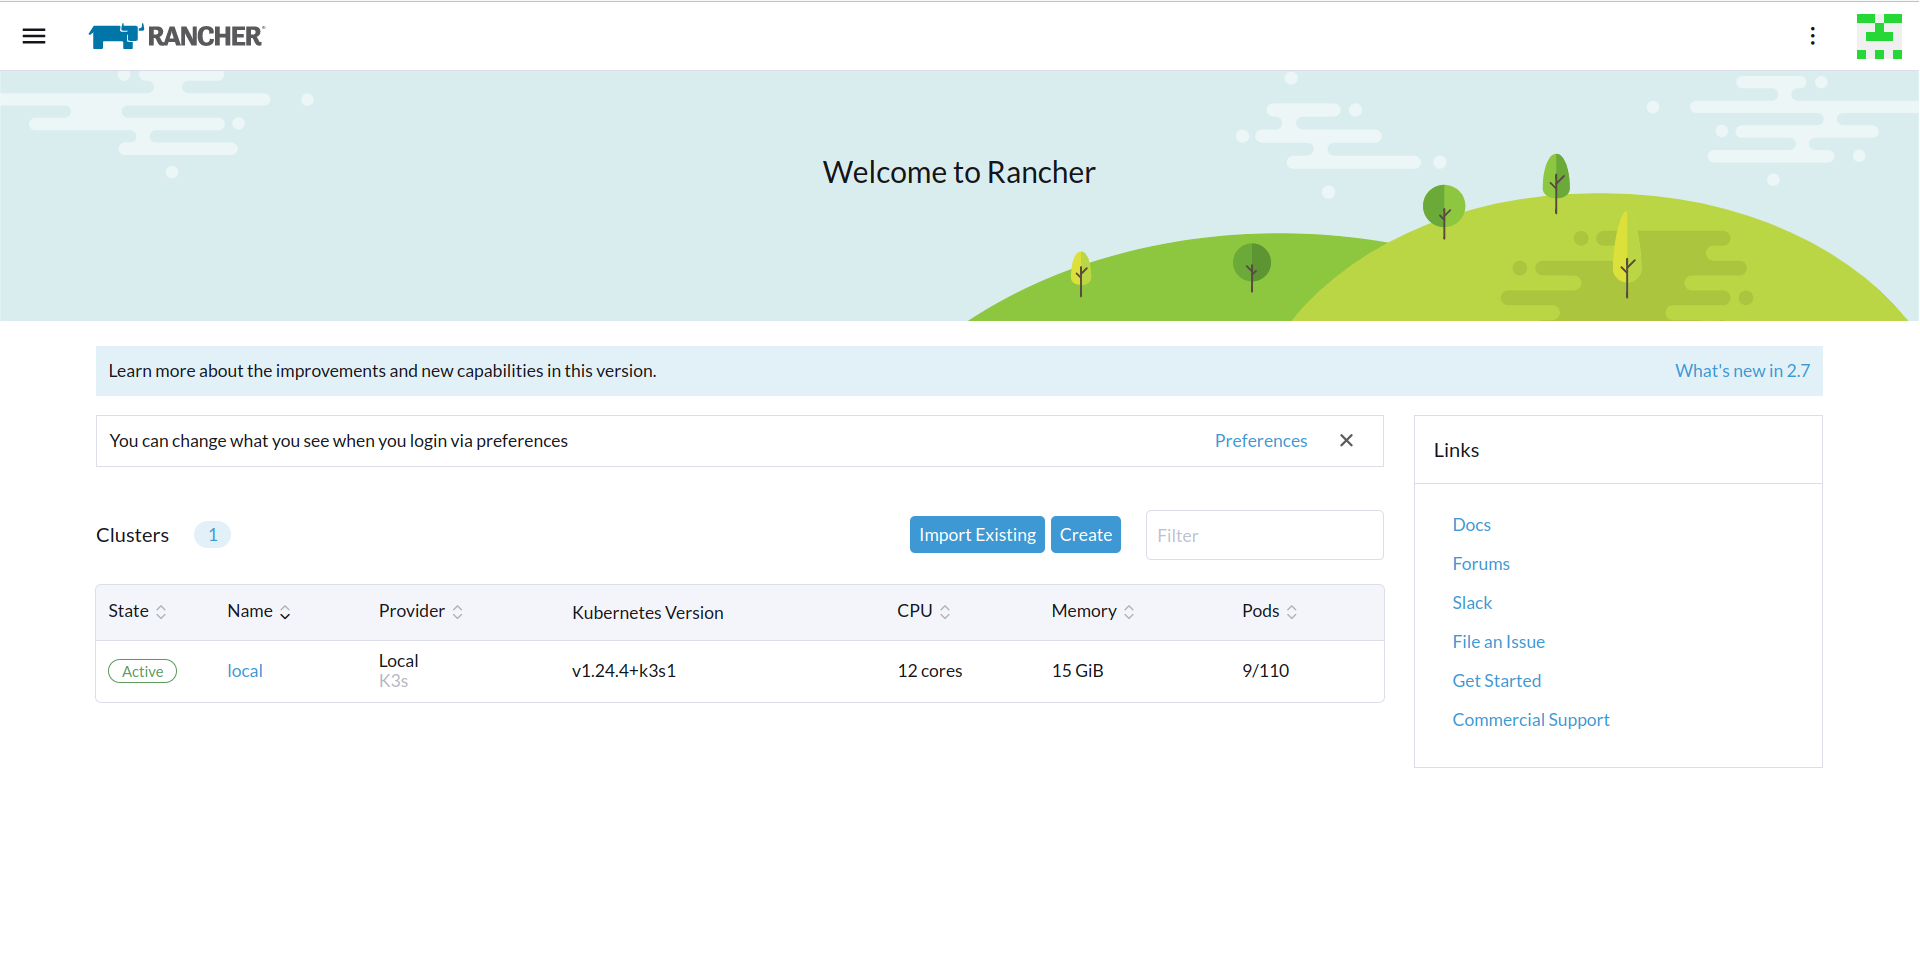
First, we have created a local Kubernetes cluster via Rancher. If you don’t have a Kubernetes cluster you can create one using Rancher
.
After successfully creating the cluster we are able to access it via Rancher Web UI.
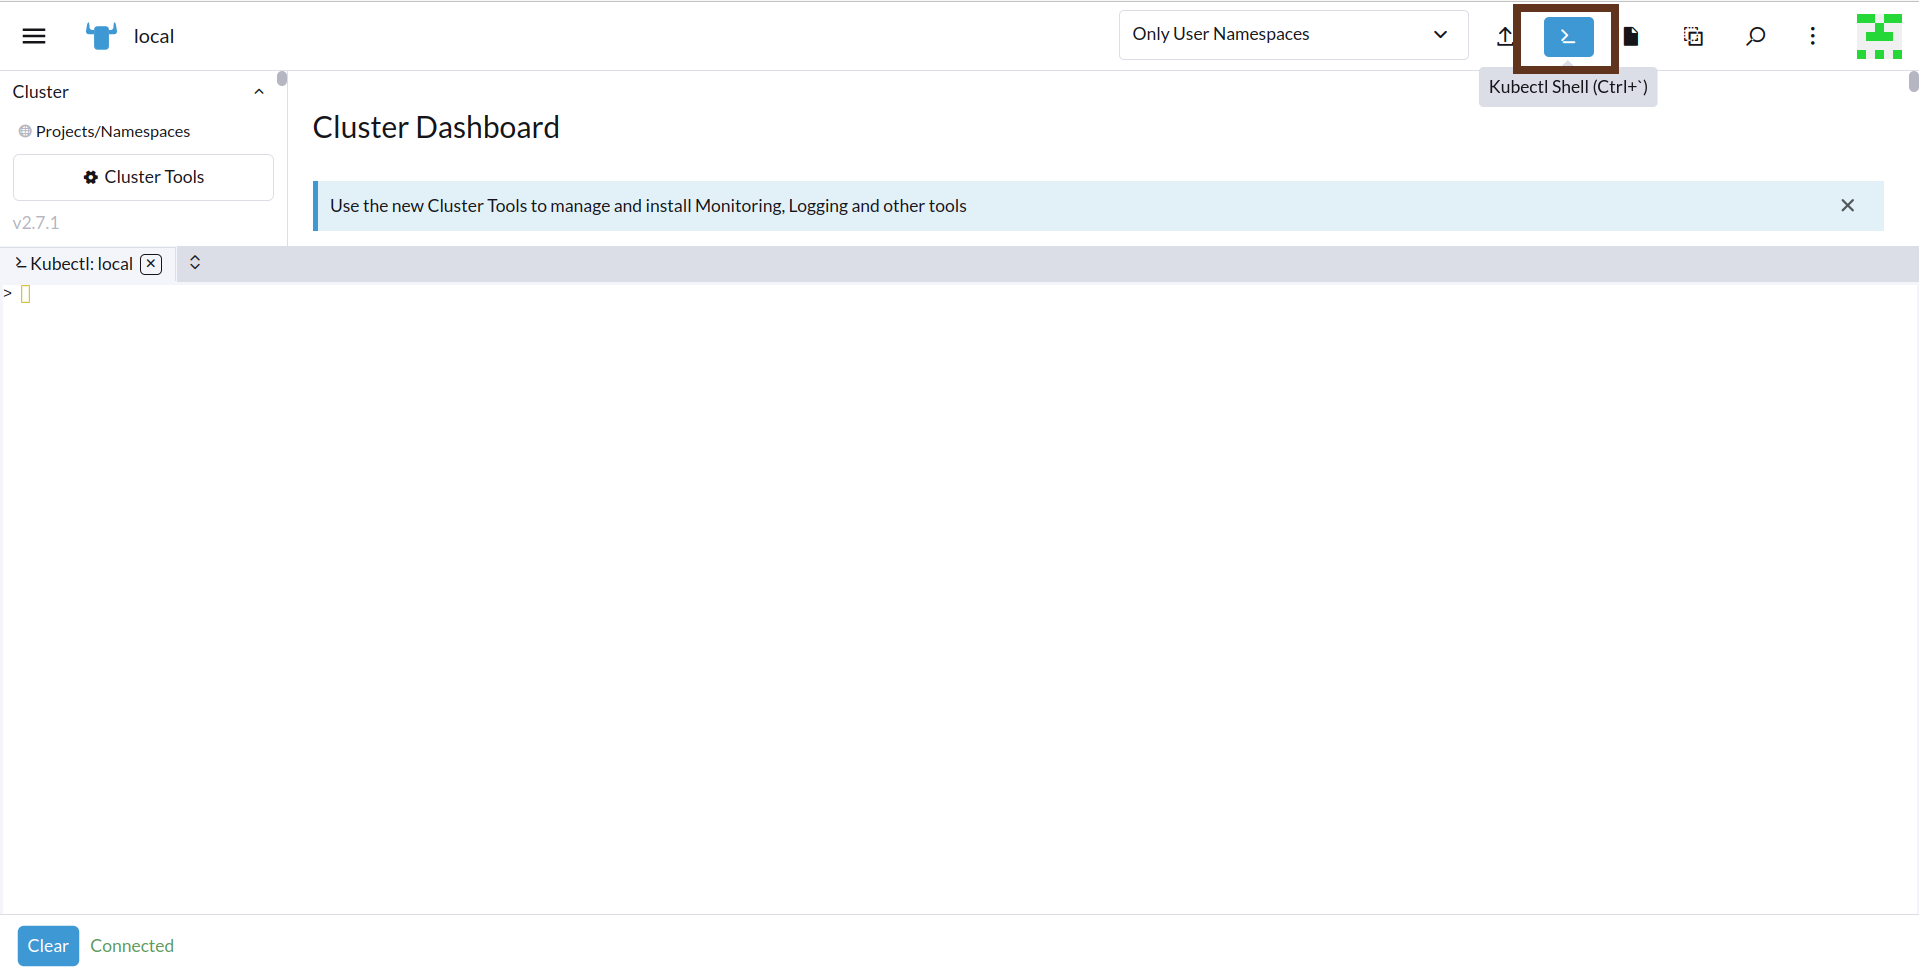
Create a StorageClass
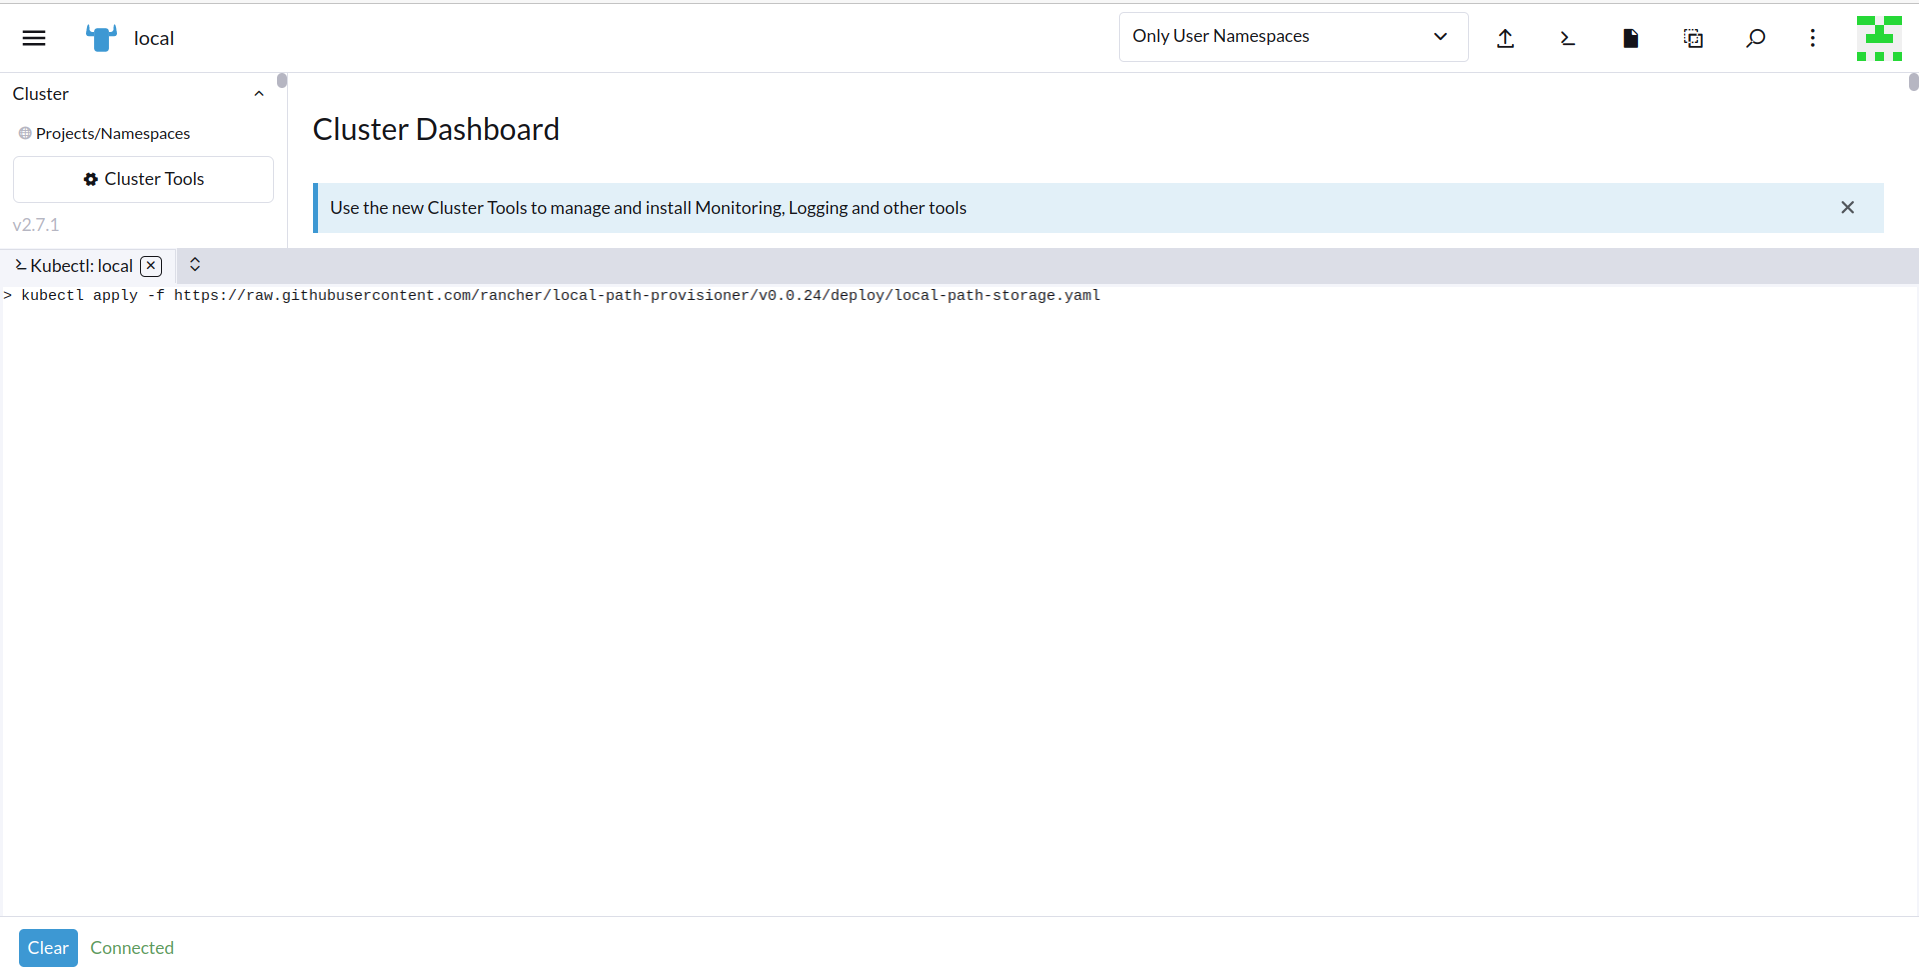
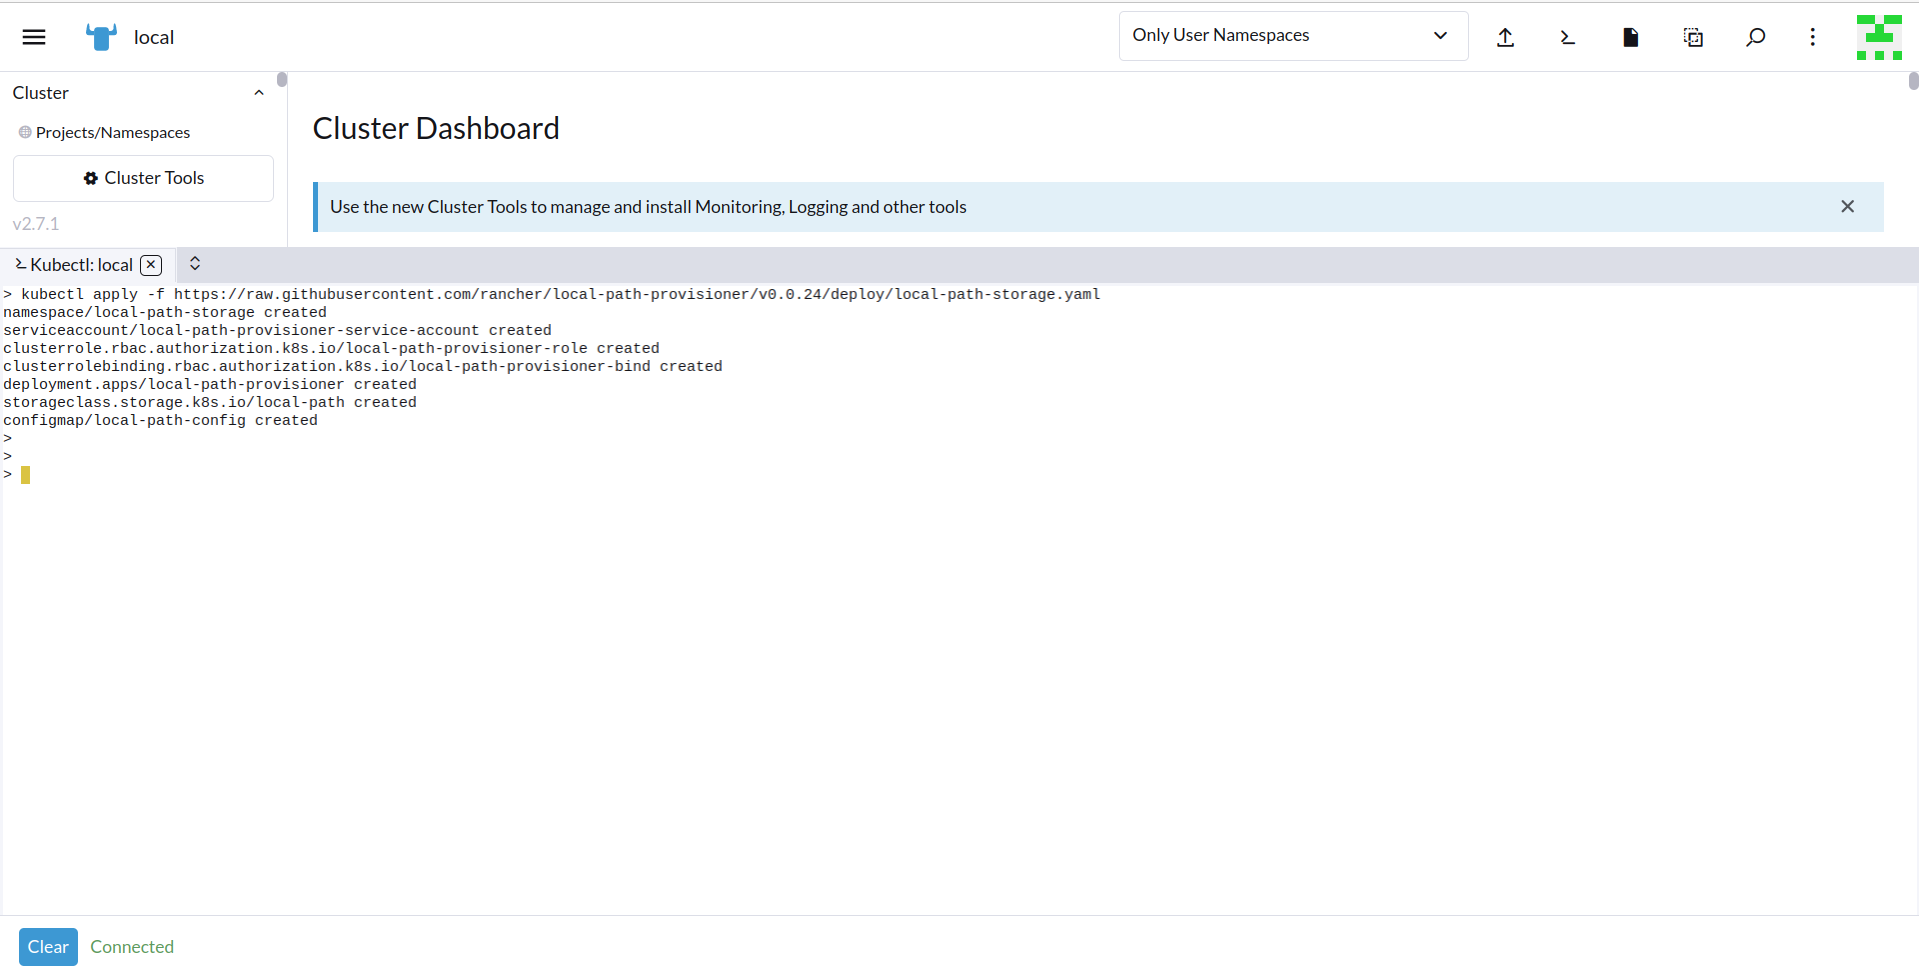
By default, Rancher does not have a StorageClass. Therefore, we need to create one. We can do this by applying the following YAML in the cluster kubectl shell of the Rancher UI:
$ kubectl apply -f https://raw.githubusercontent.com/rancher/local-path-provisioner/v0.0.24/deploy/local-path-storage.yaml
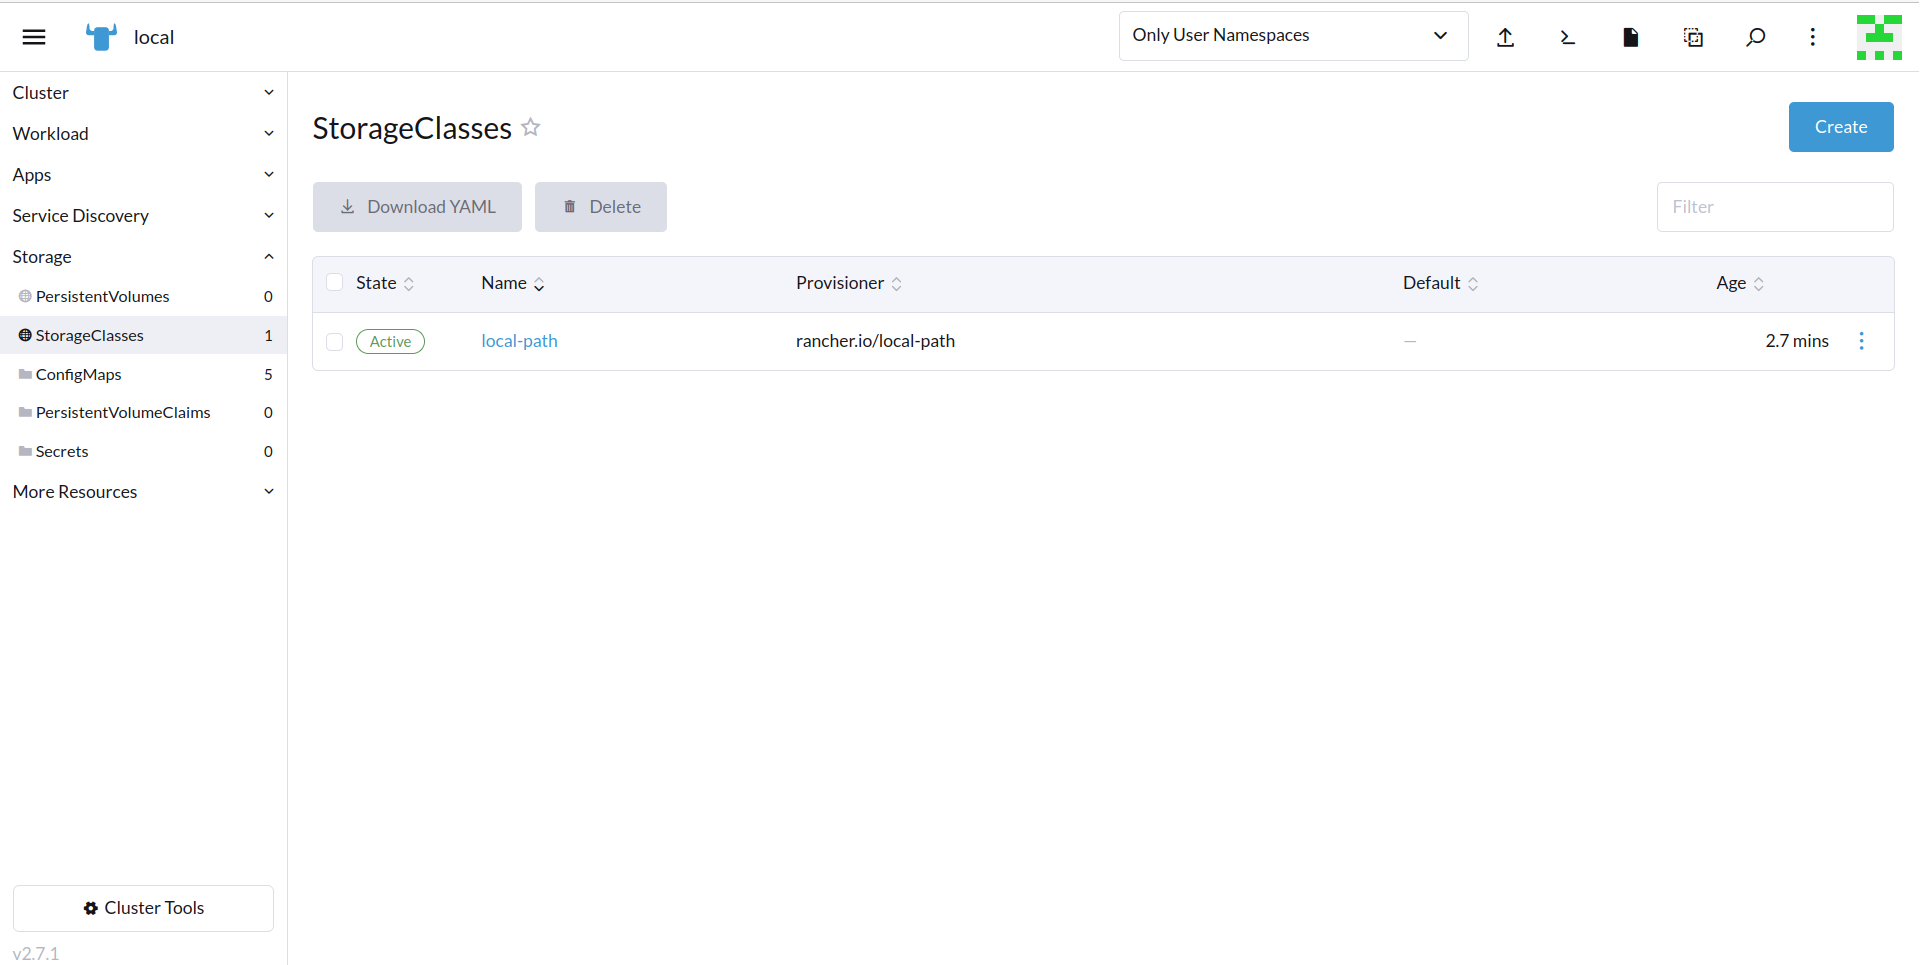
 To verify that the
 StorageClass has been created successfully, navigate to the left menu bar and select Storage > StorageClasses. Here, you should be able to see the previously created StorageClass.
Get License
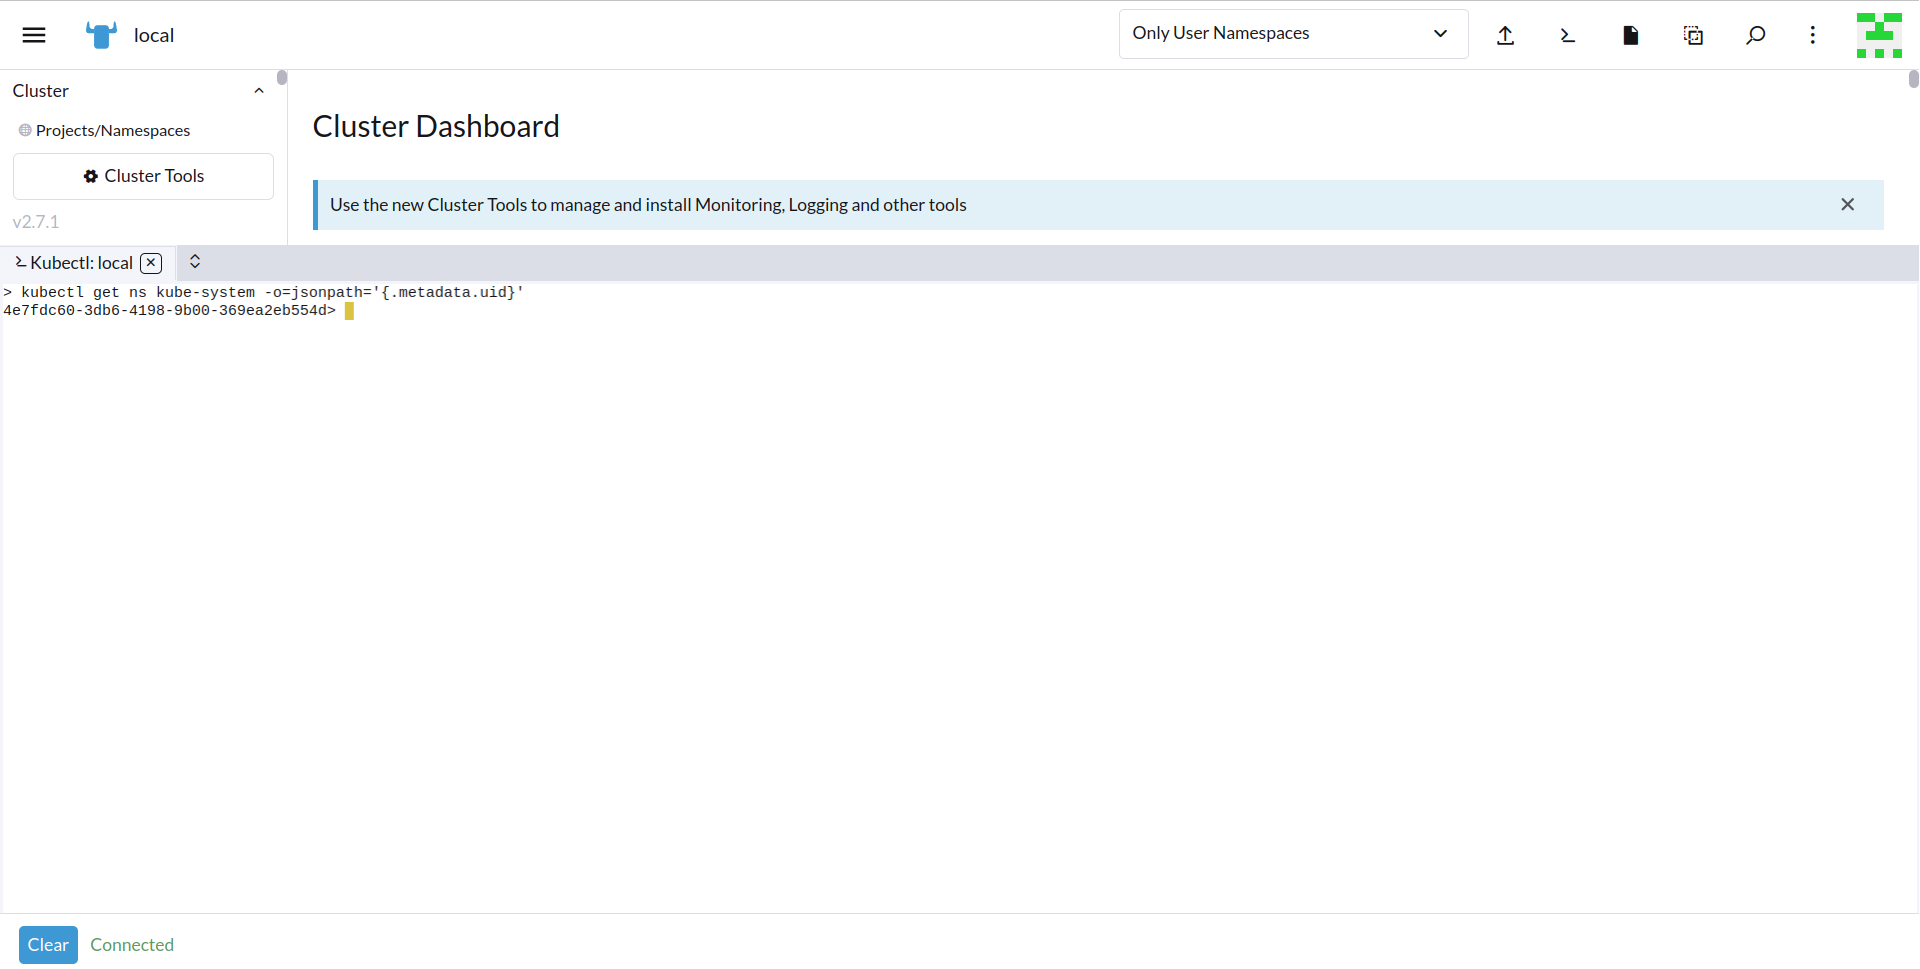
In order to use KubeDB Enterprise Edition, we need to obtain a license file from the Appscode License Server. To do this, we first need to retrieve the cluster ID by running the following command:
$ kubectl get ns kube-system -o jsonpath='{.metadata.uid}'
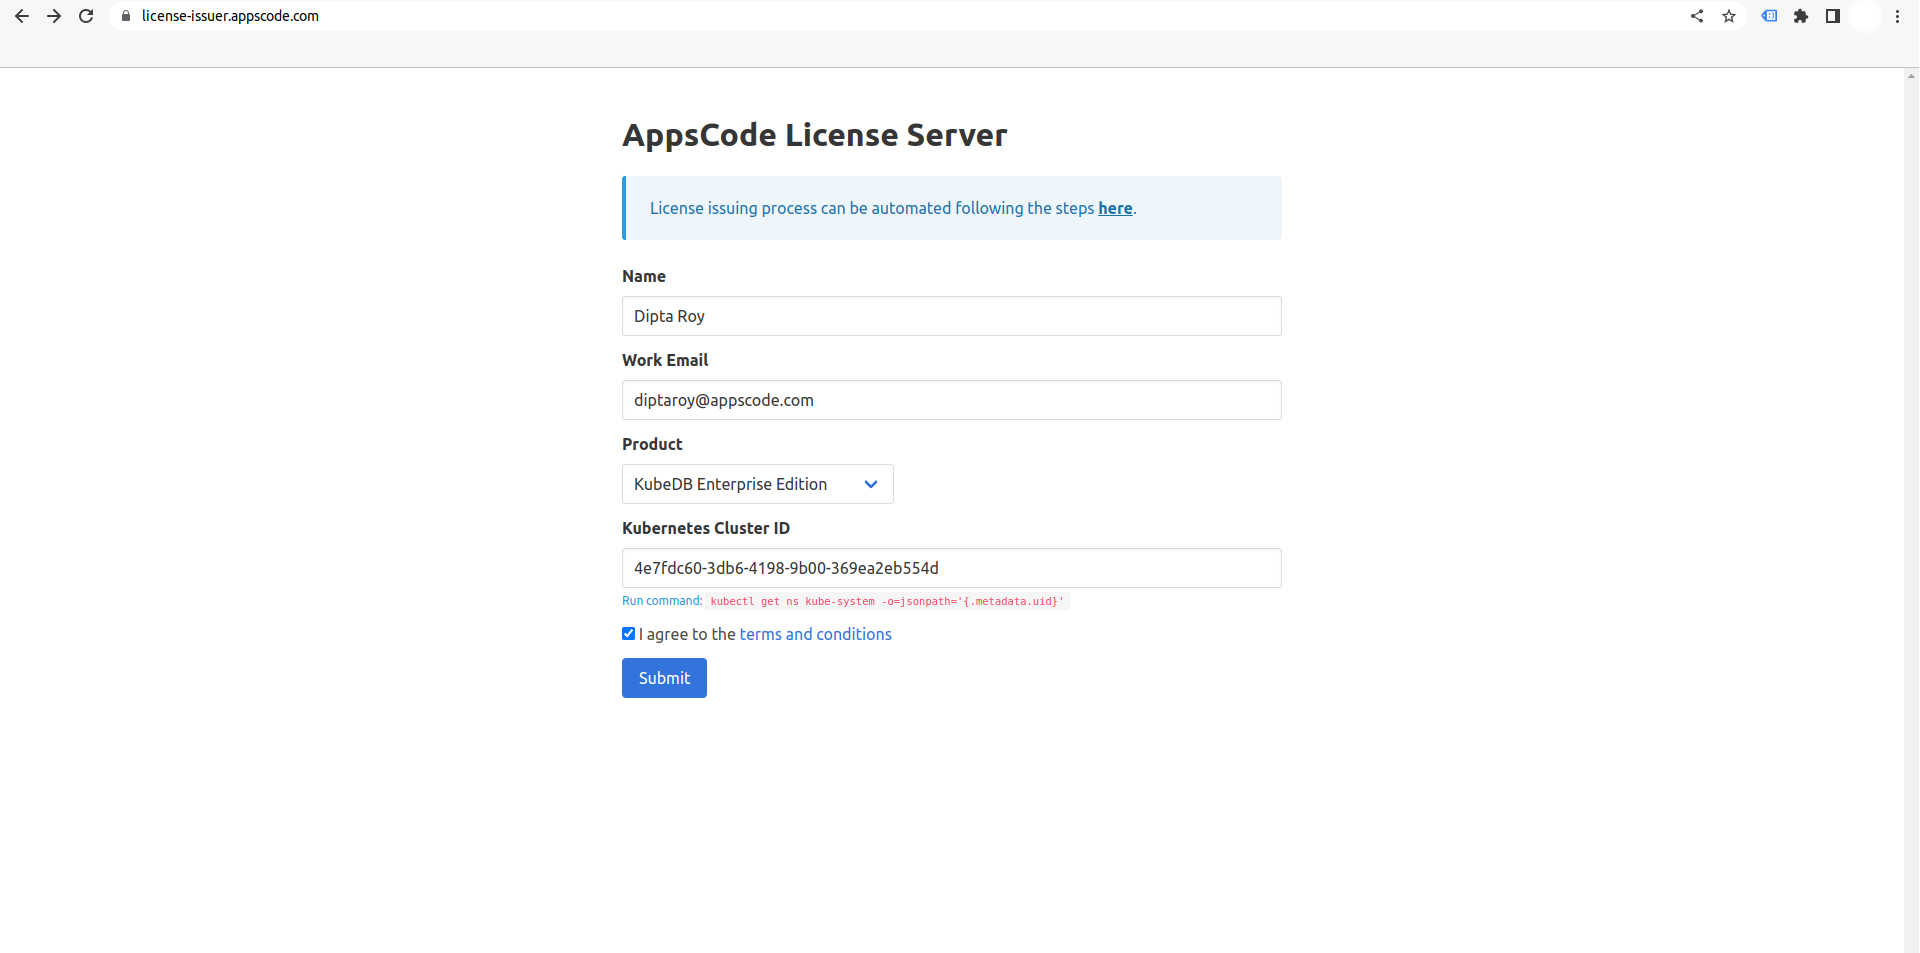
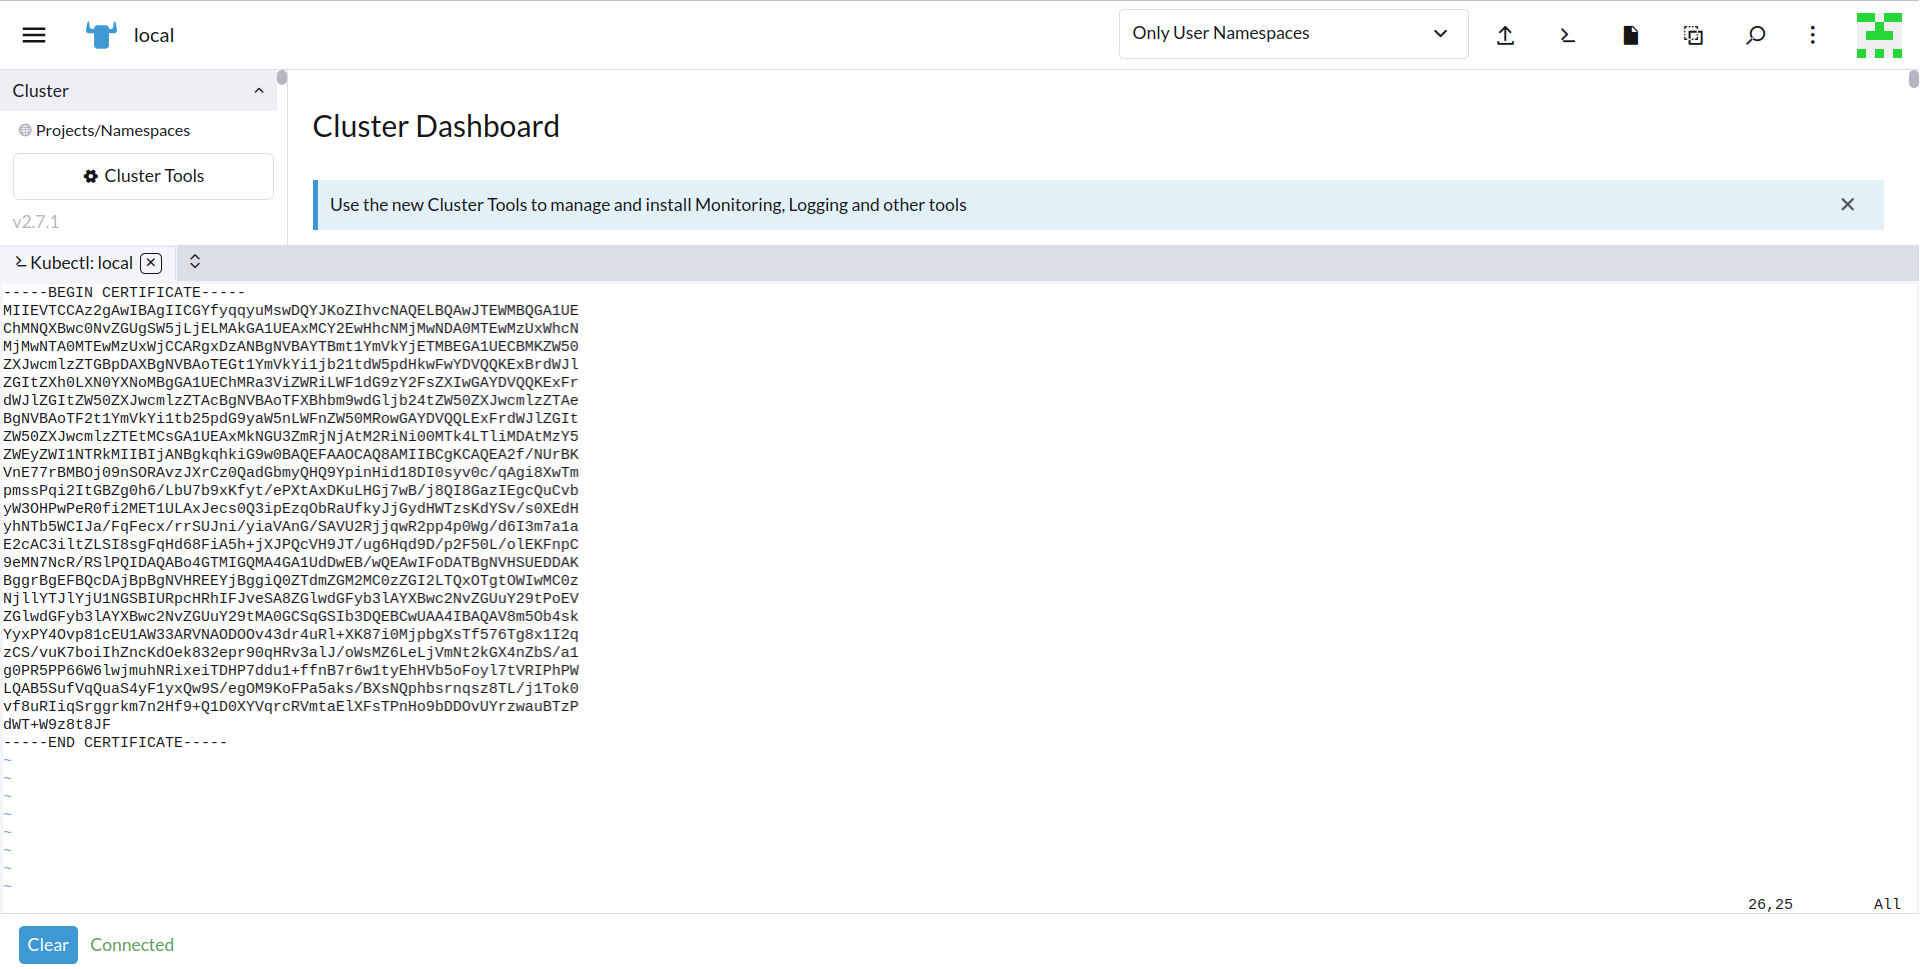
Once we have the cluster ID, we can navigate to the Appscode License Server to get the license.txt file. For this tutorial we will use KubeDB Enterprise Edition. KubeDB offers a 30 days license free of cost to try all features of the Enterprise Edition.
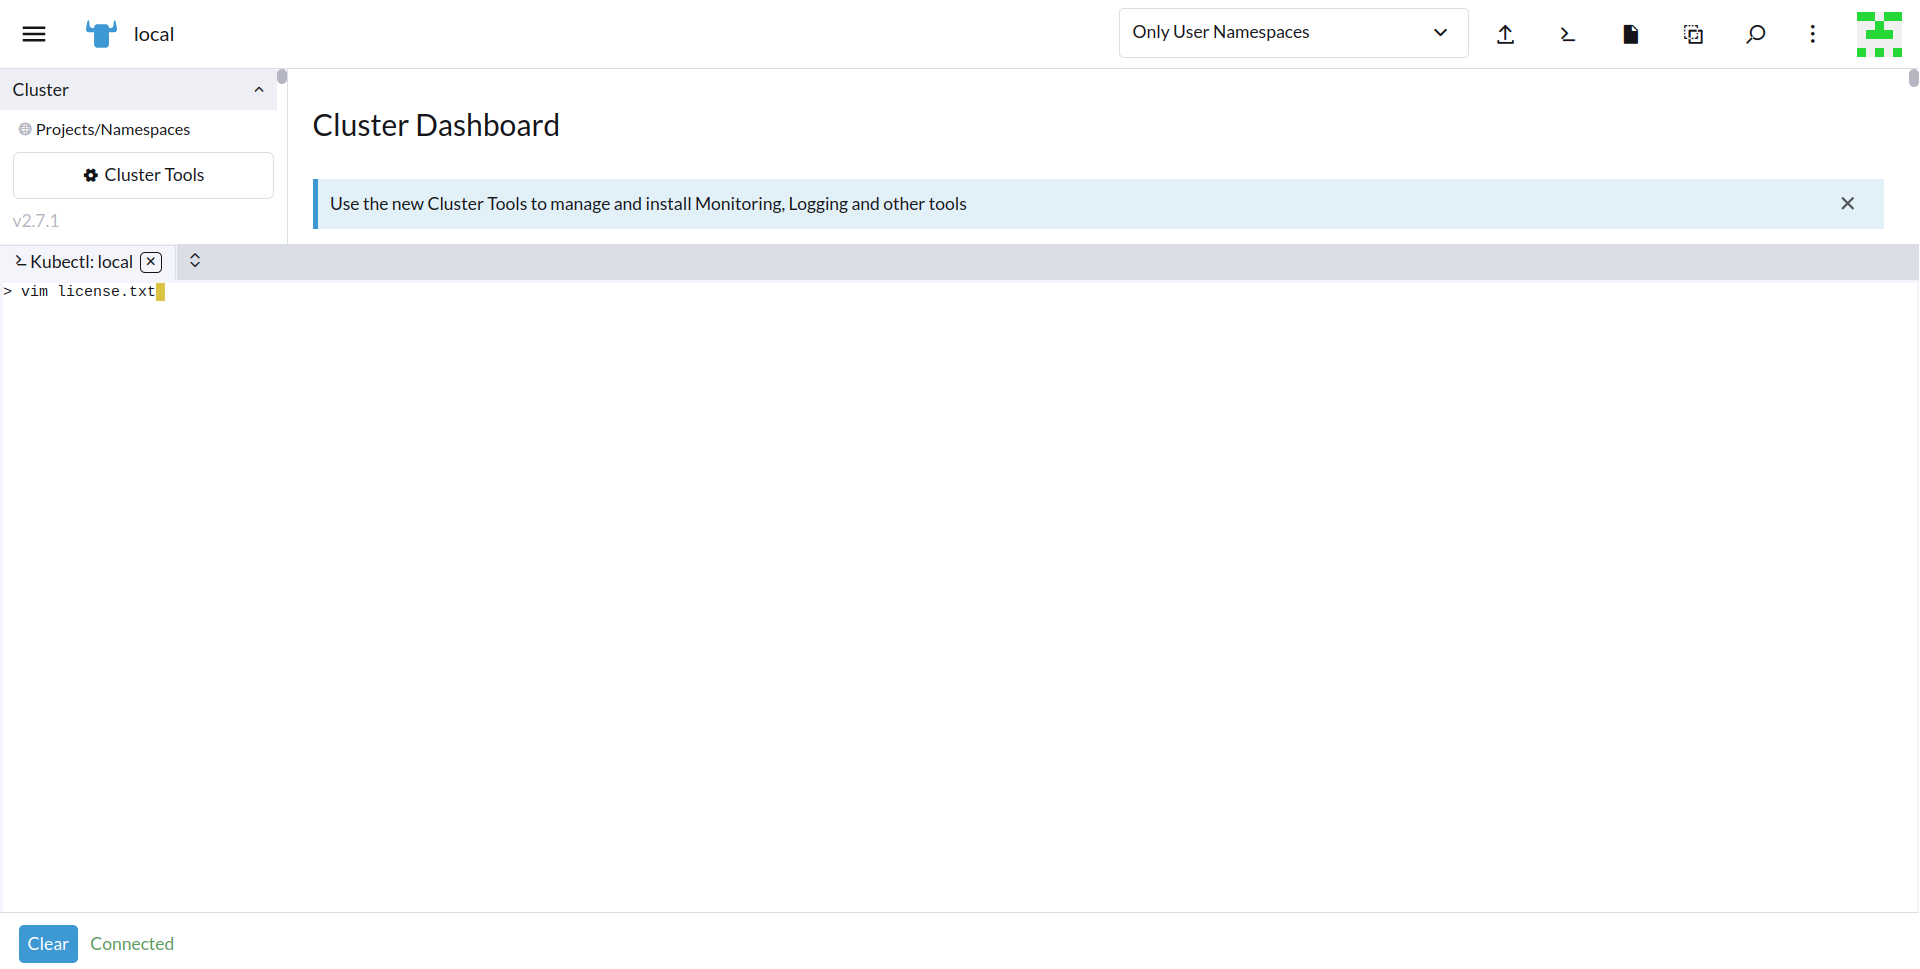
Next, we will save the license file in license.txt file using the vim editor.
Install KubeDB
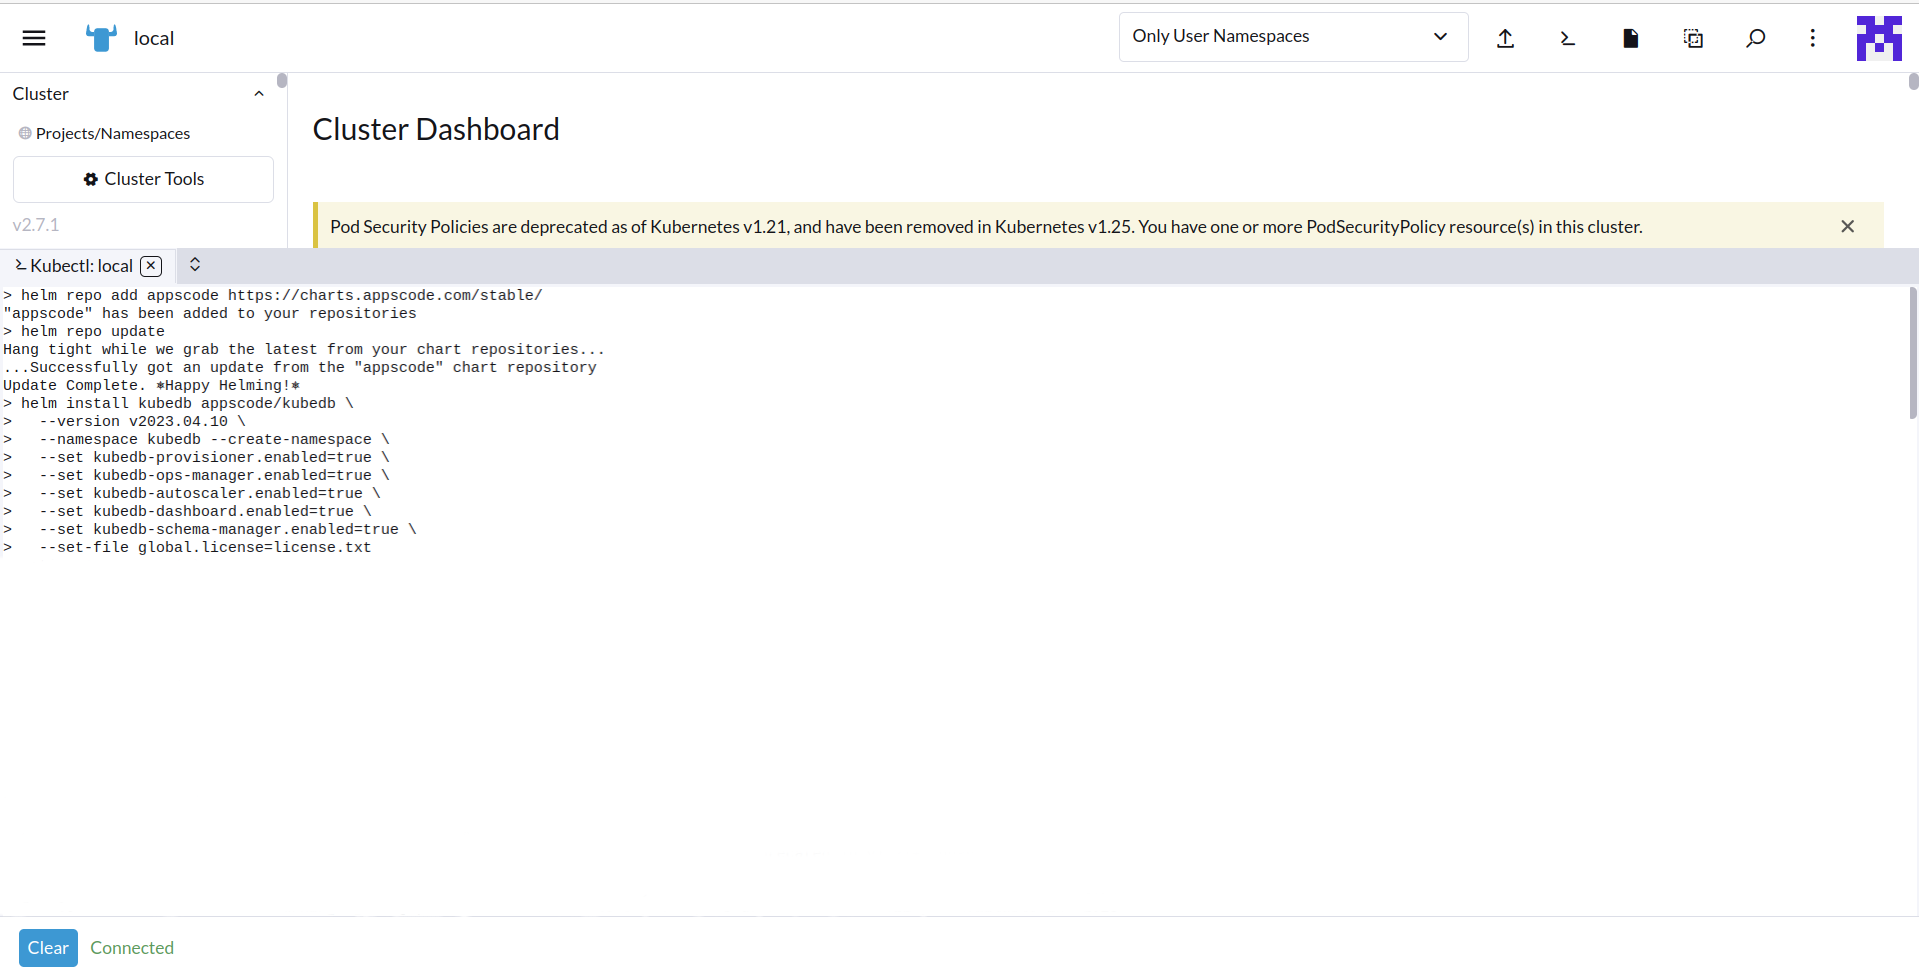
We will use helm to install KubeDB using the following command. Please install helm here if it is not already installed.
$ helm repo add appscode https://charts.appscode.com/stable/
$ helm repo update
$ helm install kubedb appscode/kubedb \
  --version v2023.04.10 \
  --namespace kubedb --create-namespace \
  --set kubedb-provisioner.enabled=true \
  --set kubedb-ops-manager.enabled=true \
  --set kubedb-autoscaler.enabled=true \
  --set kubedb-dashboard.enabled=true \
  --set kubedb-schema-manager.enabled=true \
  --set-file global.license=license.txt
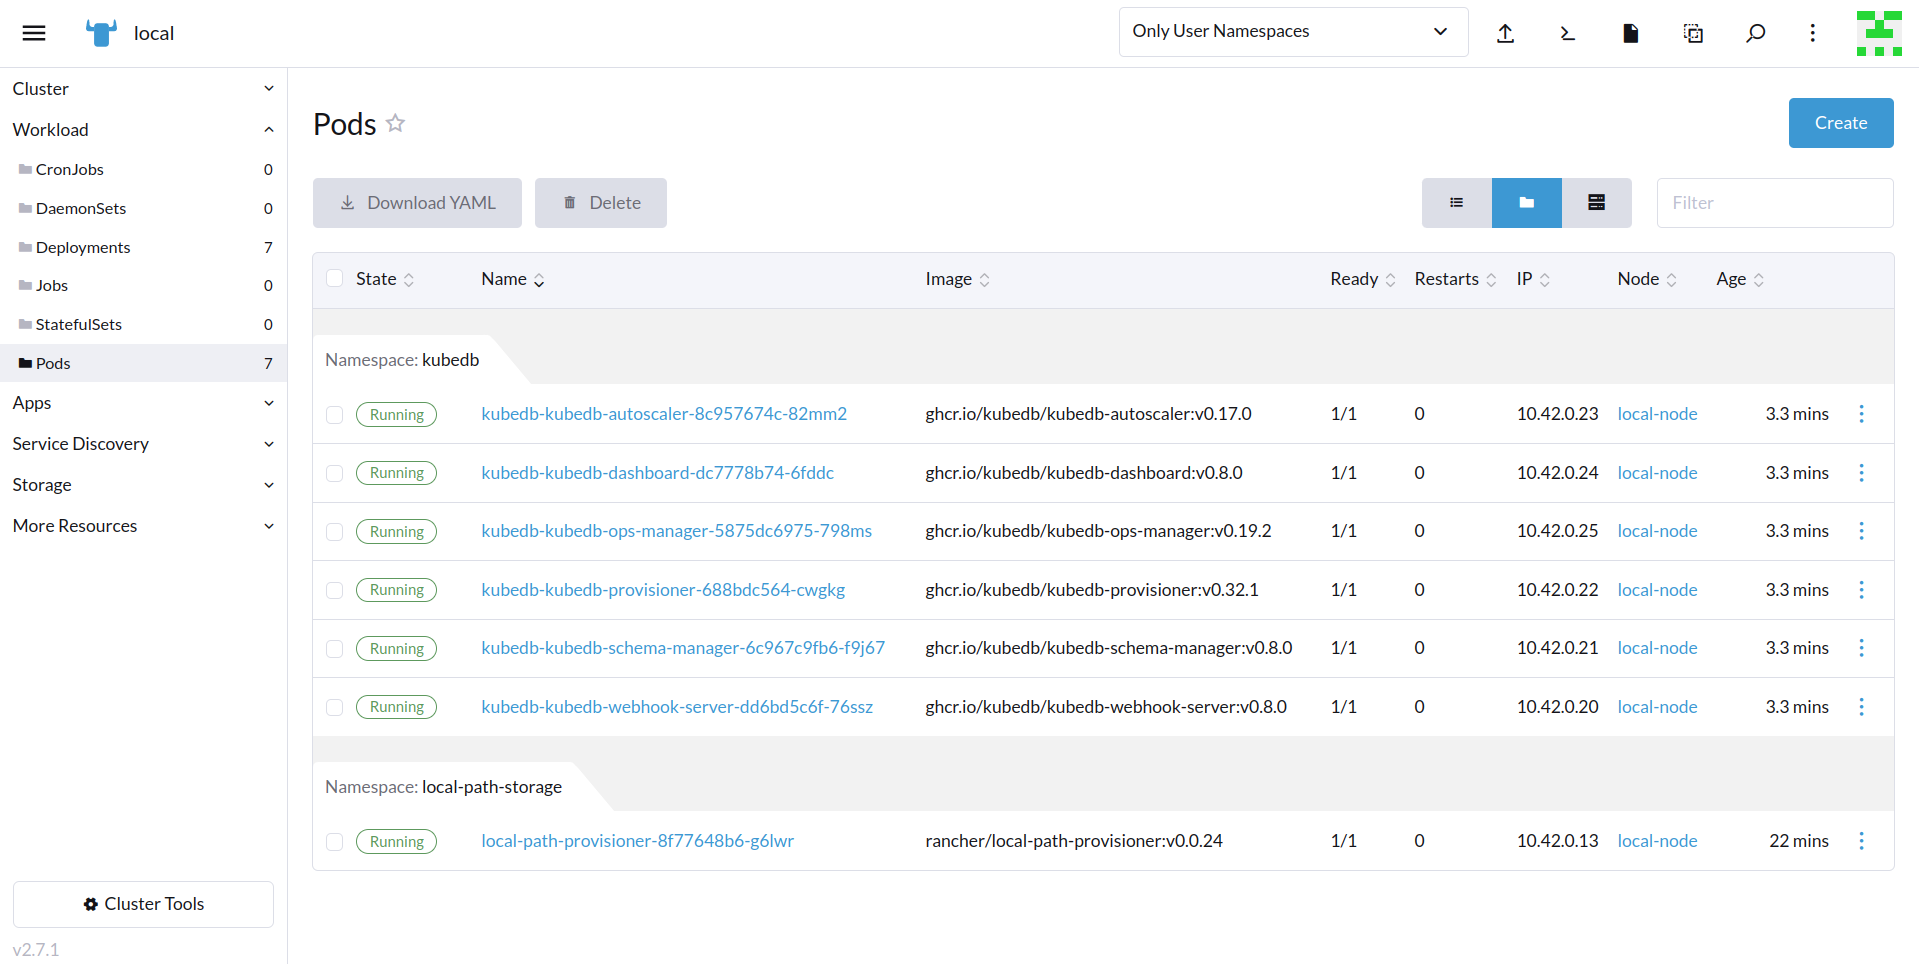
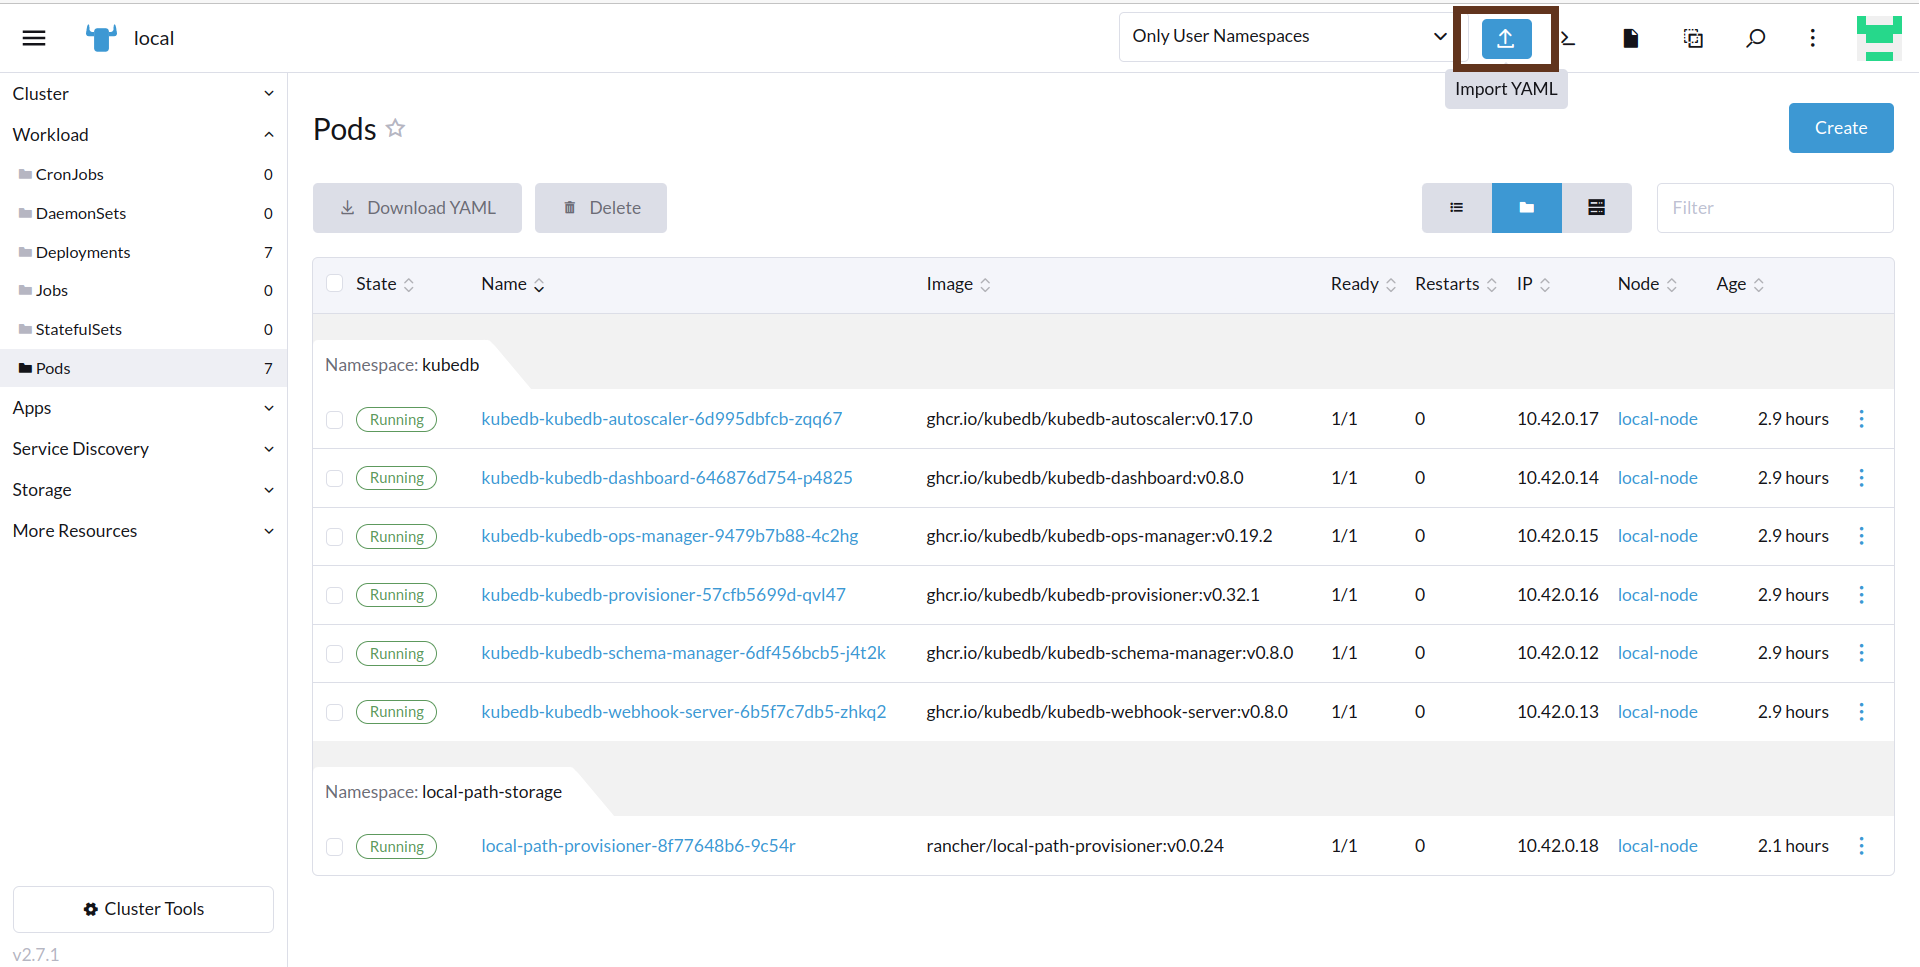
To verify that KubeDB has been successfully installed, navigate to the left menu bar and select Workload > Pods. Here, you should be able to see the newly created KubeDB pods.
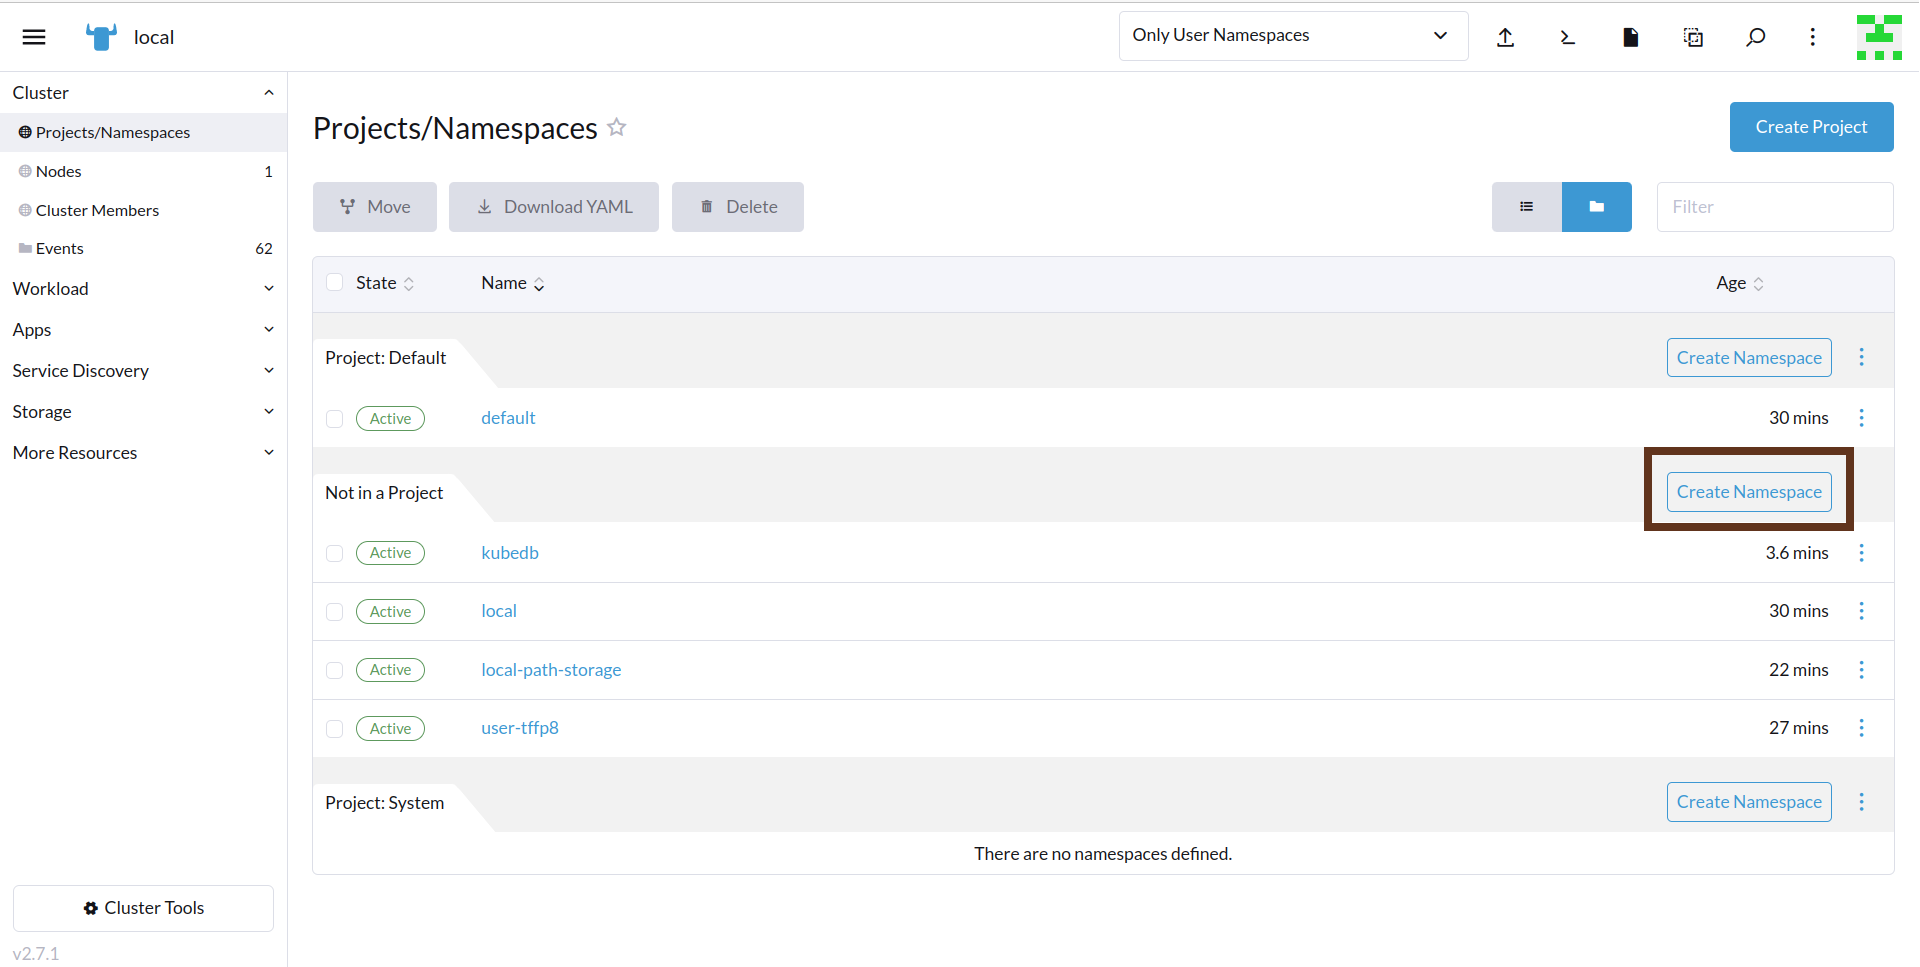
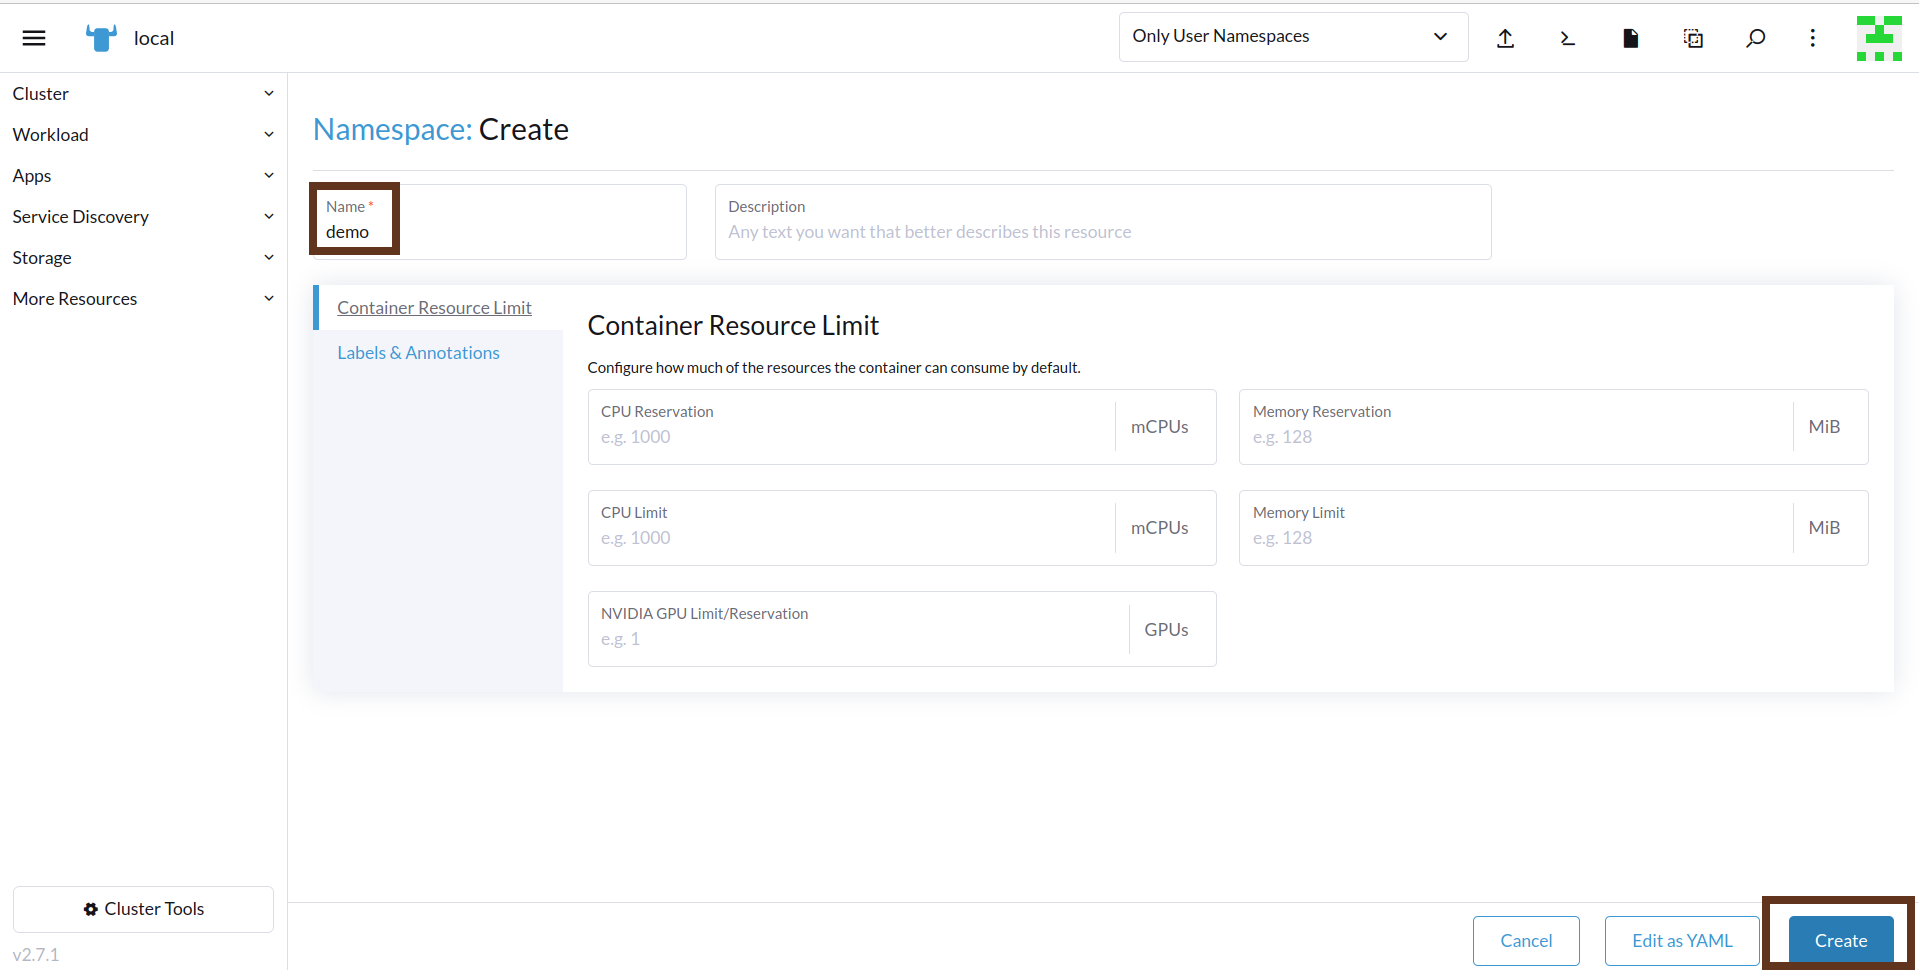
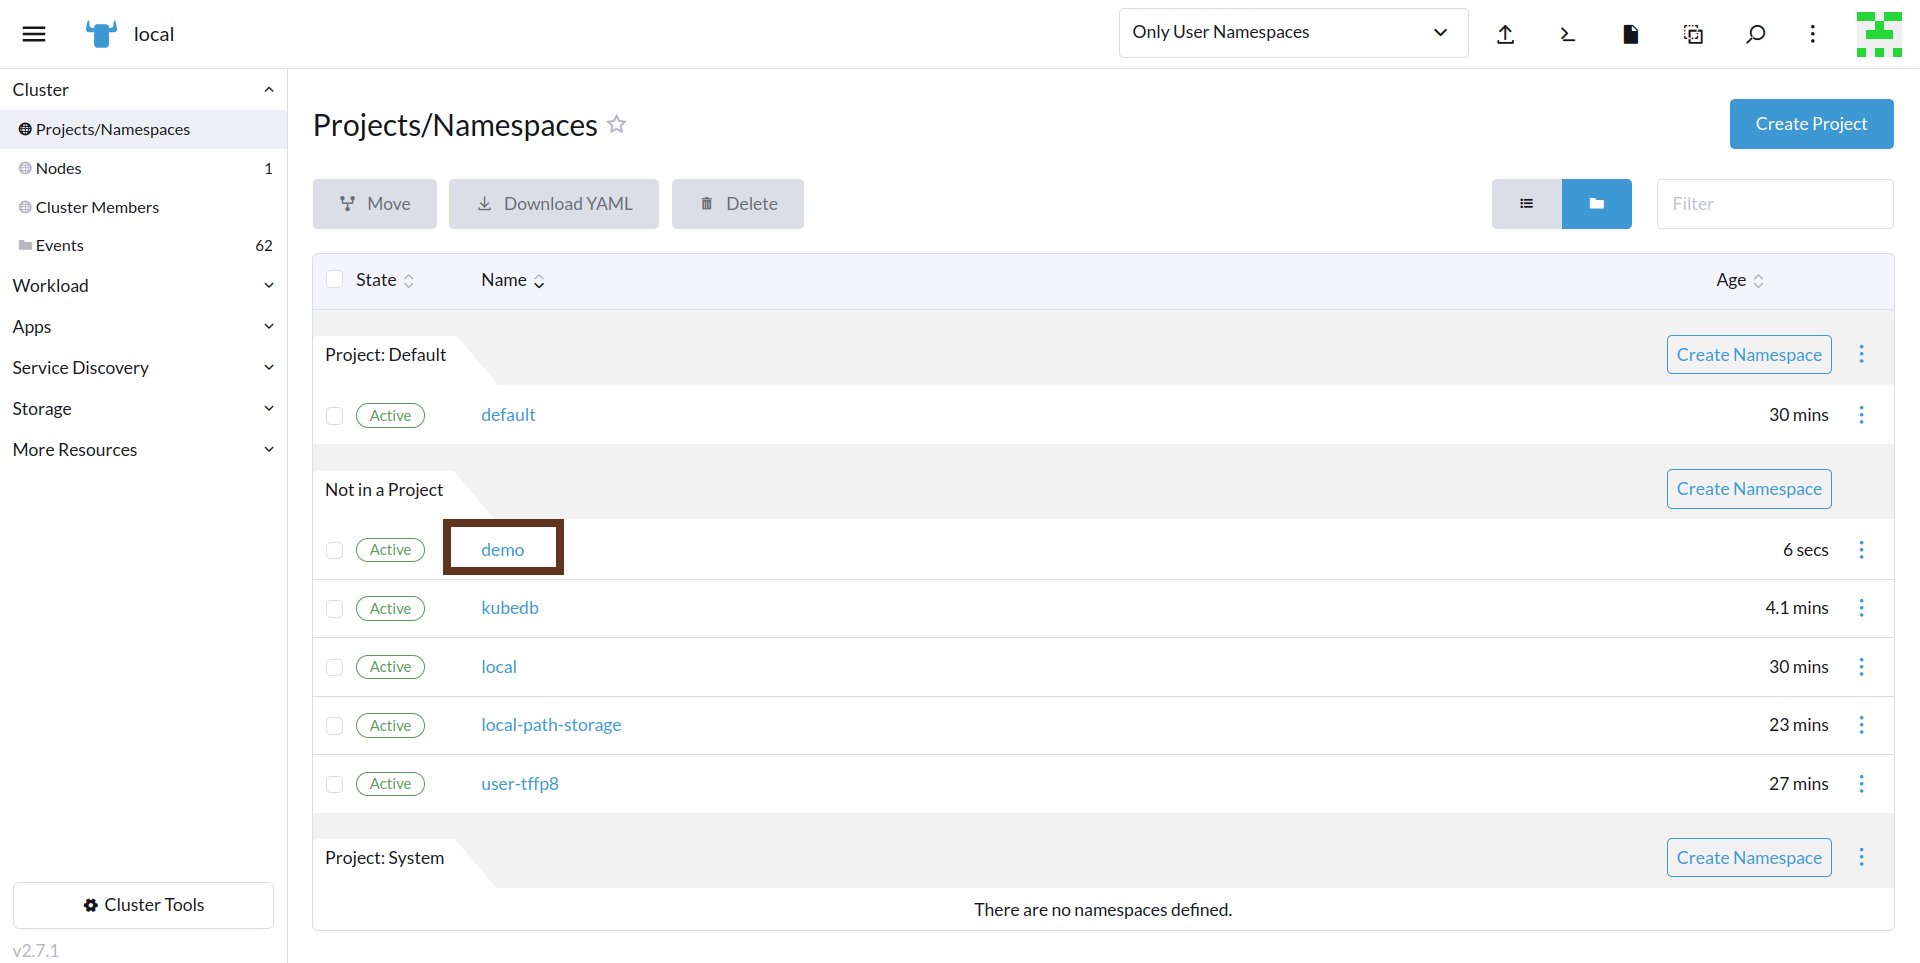
To keep things separated, we will use a new namespace called demo throughout this tutorial. To create this namespace, navigate to the left menu bar and select the Projects/Namespaces section.
Deploy MariaDB Clustered Database
In this section, we will deploy a MariaDB cluster using KubeDB. Here is the YAML configuration that we will be using:
apiVersion: kubedb.com/v1alpha2
kind: MariaDB
metadata:
  name: mariadb-cluster
  namespace: demo
spec:
  version: "10.11.2"
  replicas: 3
  storageType: Durable
  storage:
    storageClassName: "local-path"
    accessModes:
    - ReadWriteOnce
    resources:
      requests:
        storage: 128Mi
  terminationPolicy: WipeOut
To deploy this configuration, navigate to the left menu bar, select Workload > Pods, and click the “Import YAML” button.


In this yaml,
spec.versionfield specifies the version of MariaDB. Here, we are using MariaDBversion 10.11.2. You can list the KubeDB supported versions of MariaDB by running$ kubectl get mariadbversionscommand.spec.storagespecifies PVC spec that will be dynamically allocated to store data for this database. This storage spec will be passed to the StatefulSet created by KubeDB operator to run database pods. You can specify any StorageClass available in your cluster with appropriate resource requests.- And the
spec.terminationPolicyfield is Wipeout means that the database will be deleted without restrictions. It can also be “Halt”, “Delete” and “DoNotTerminate”. Learn More about these HERE .
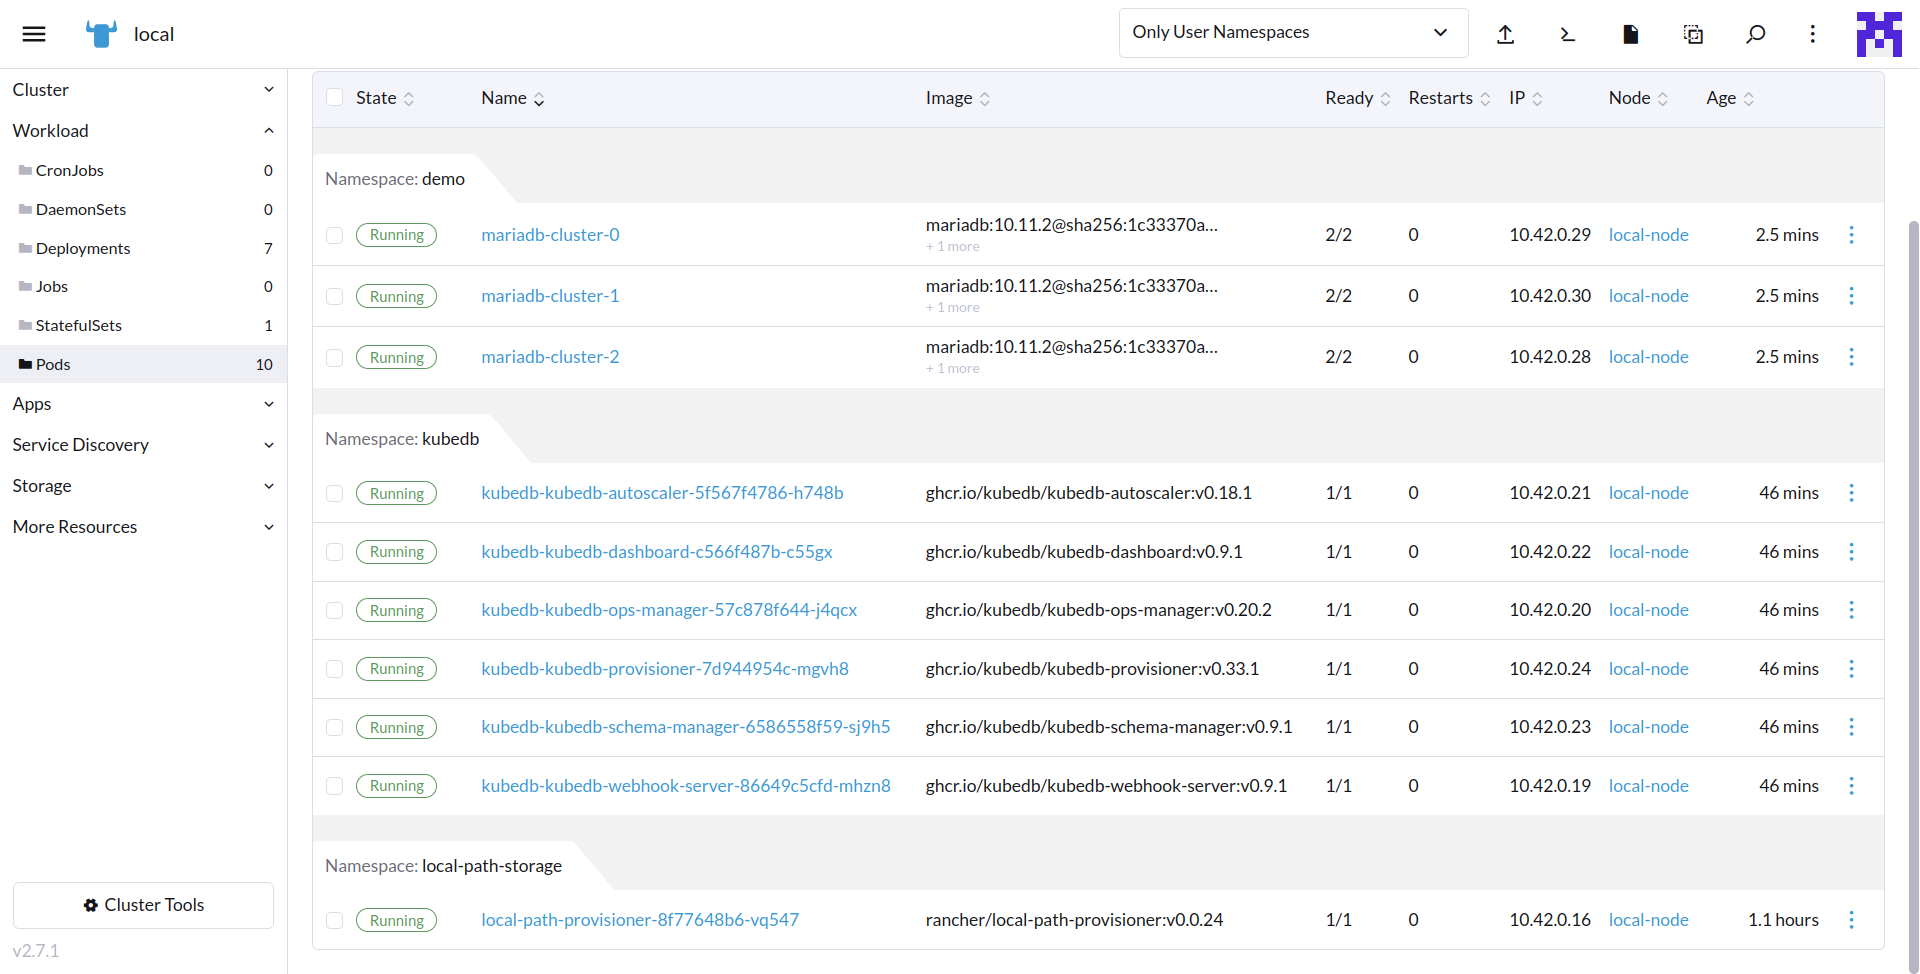
After deploying the MariaDB Cluster configuration, you should see the following pods created in the Workload > Pods section:
 To verify that the MariaDB deployment was successful, connect to the cluster
 kubectl shell and run the following commands to see the objects that were created. Also, we will check the database STATUS is ready to or not,
$ kubectl get all -n demo
$ kubectl get mariadb -n demo mariadb-cluster

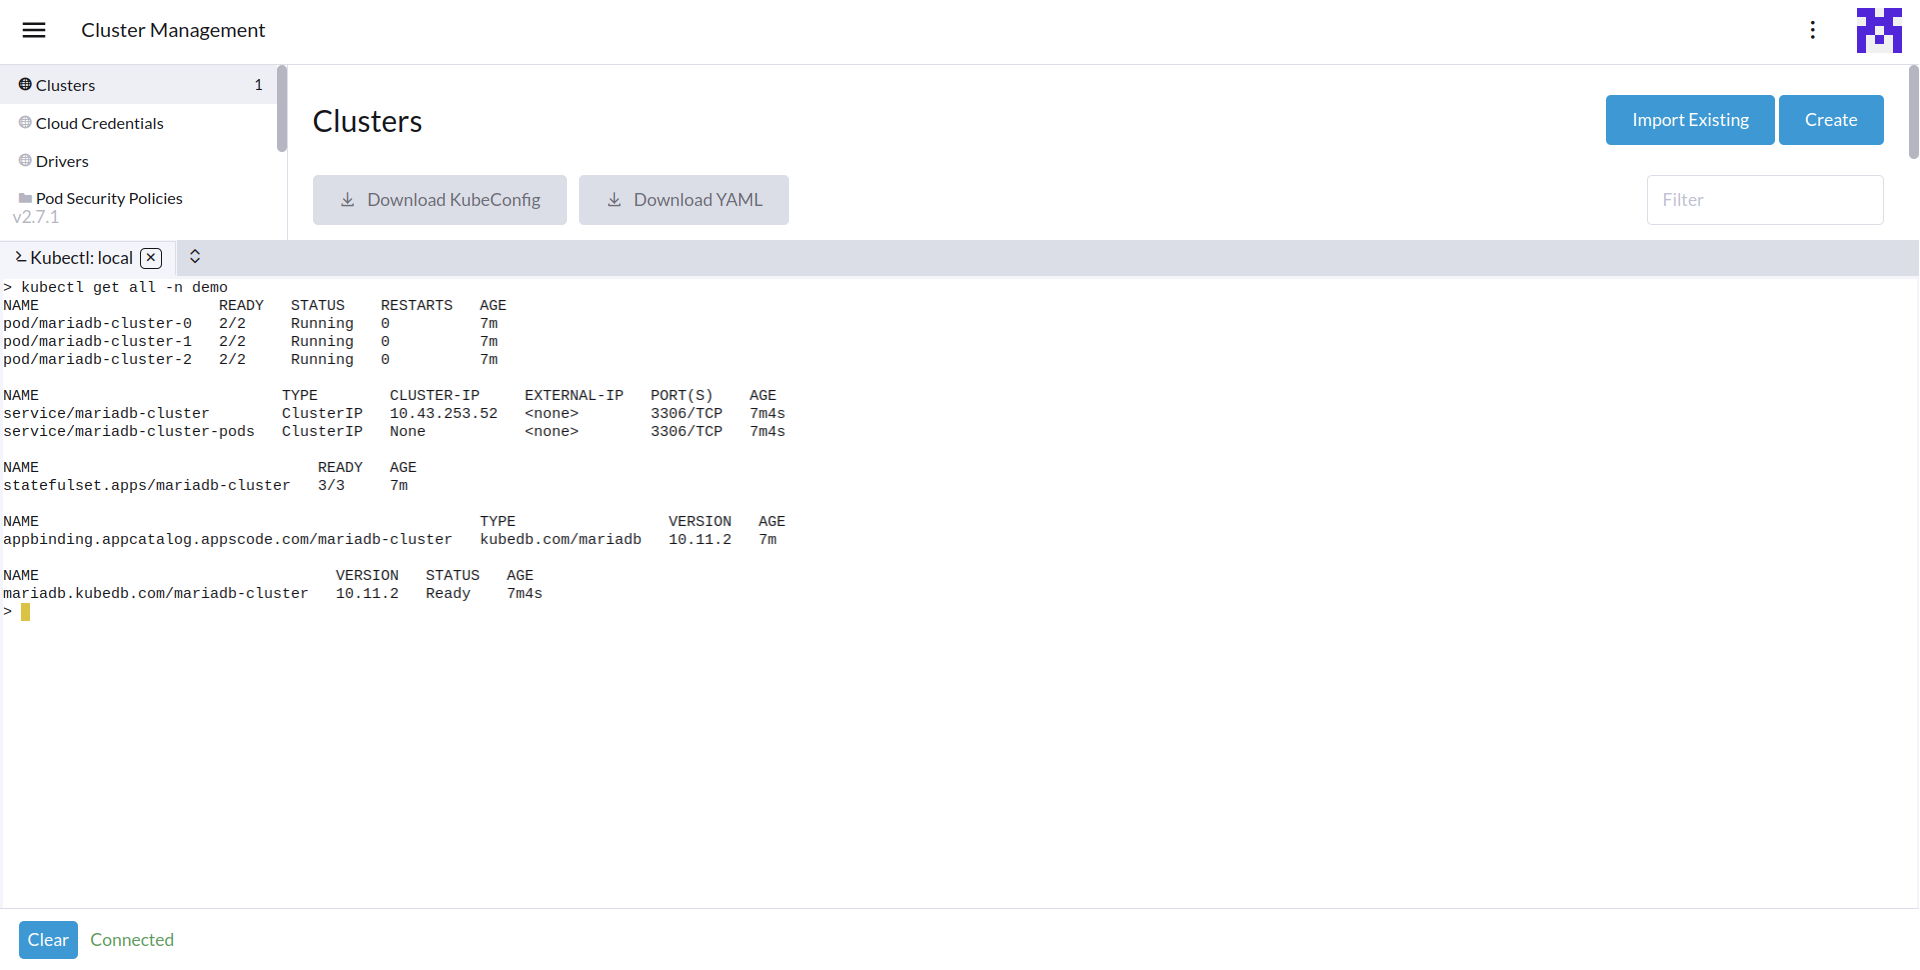
We have successfully deployed MariaDB into Rancher Kubernetes cluster.
Accessing Database Through MariaDB Pod
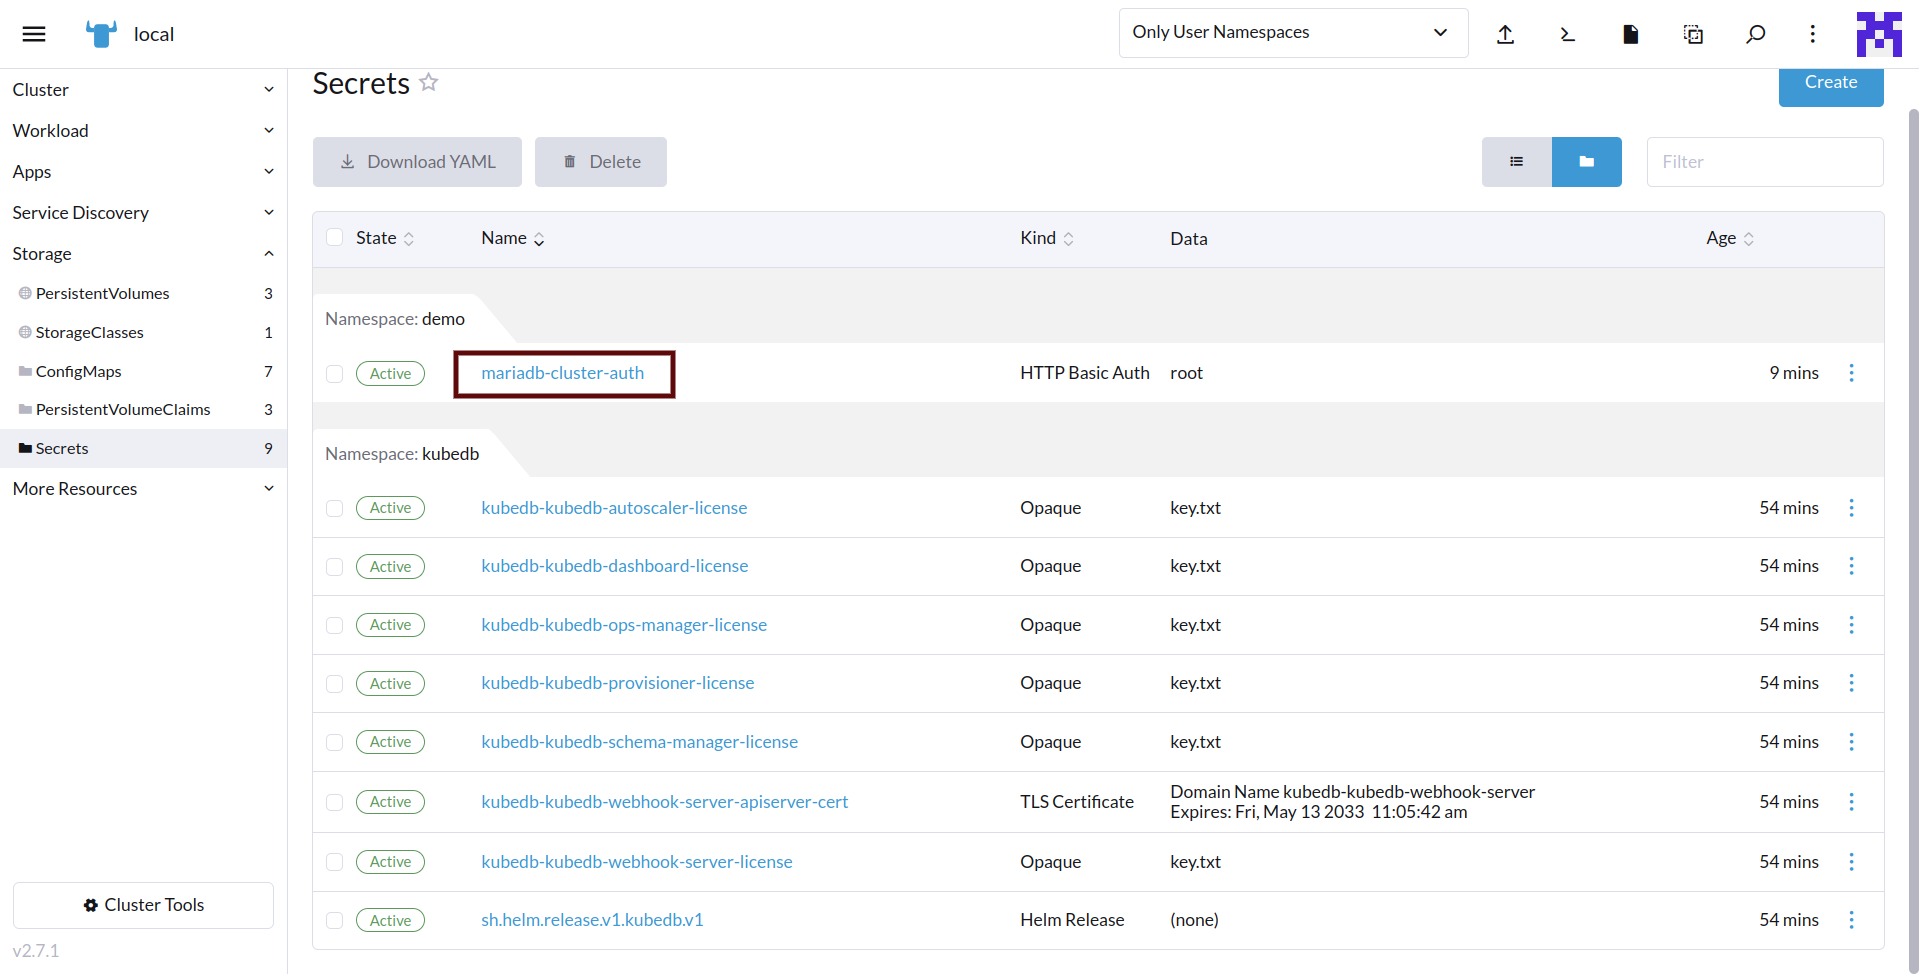
To access the database through MariaDB Pod, you need the credentials. KubeDB creates a Secret for the deployed database, and in this case, it’s named mariadb-cluster-auth. Navigate to the Storage > Secrets section, locate the mariadb-cluster-auth secret and click on it to see the credentials. Copy the Username and Password for further use.
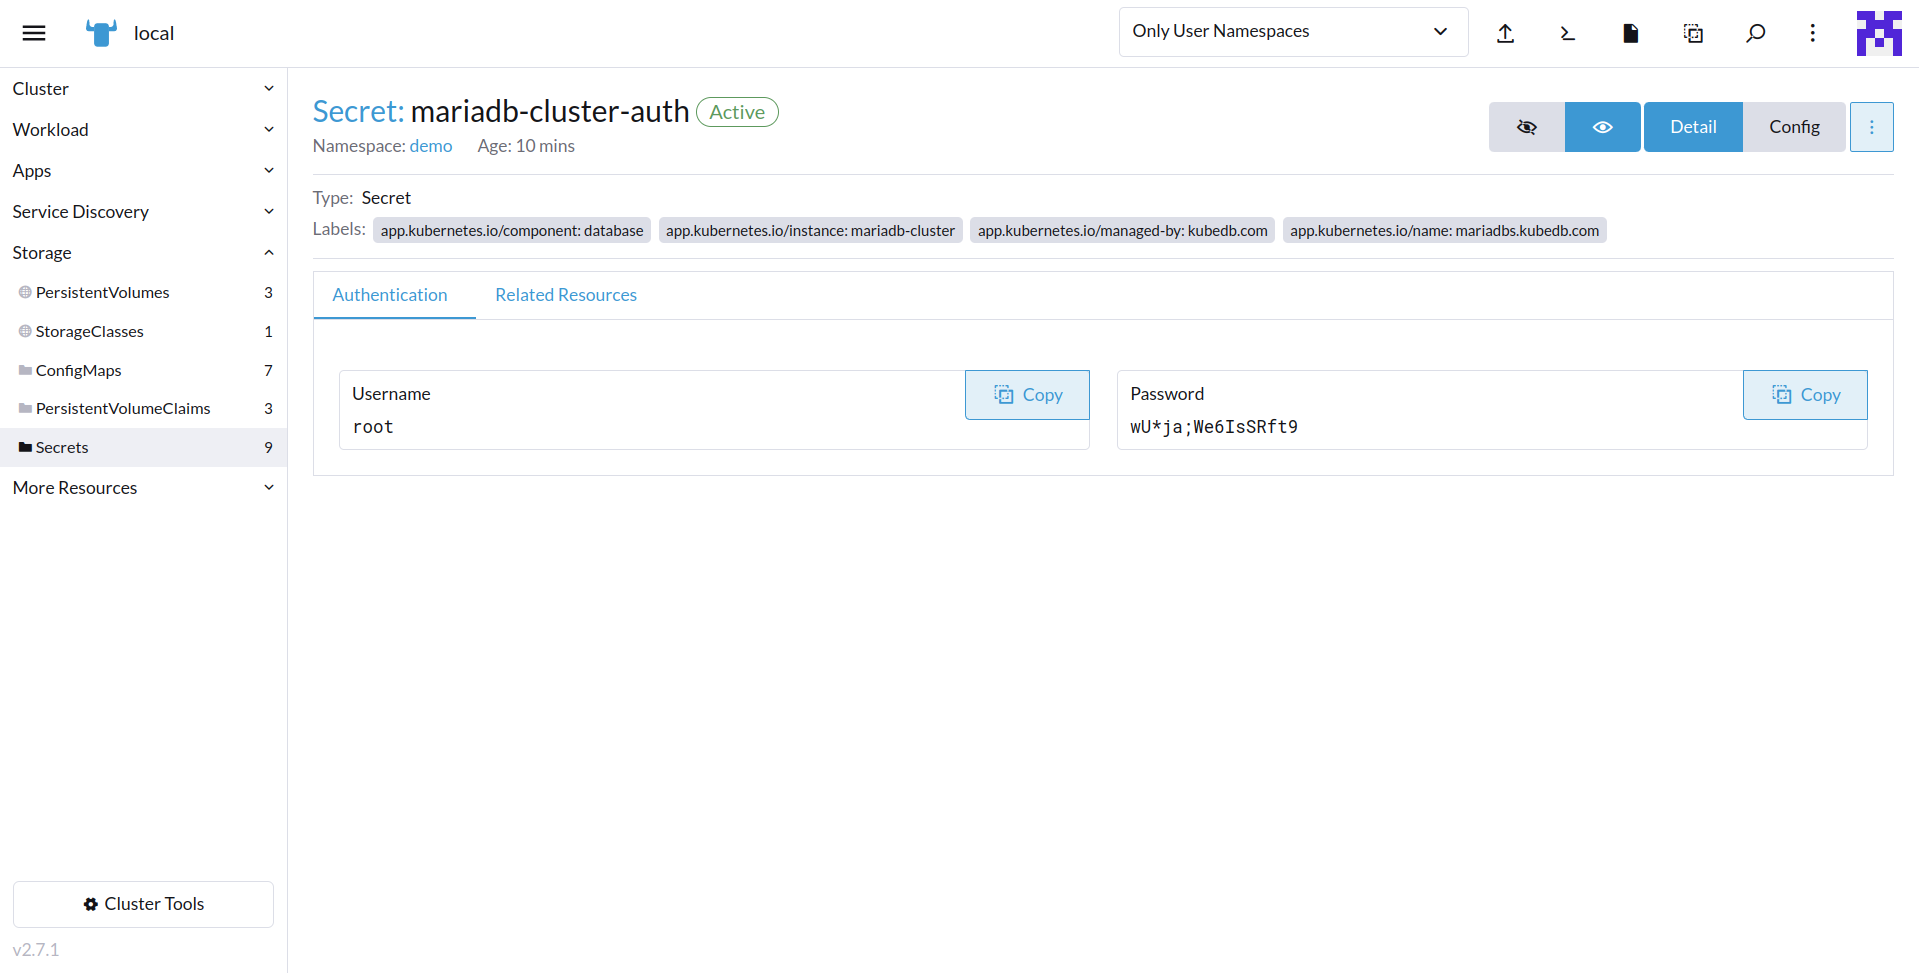
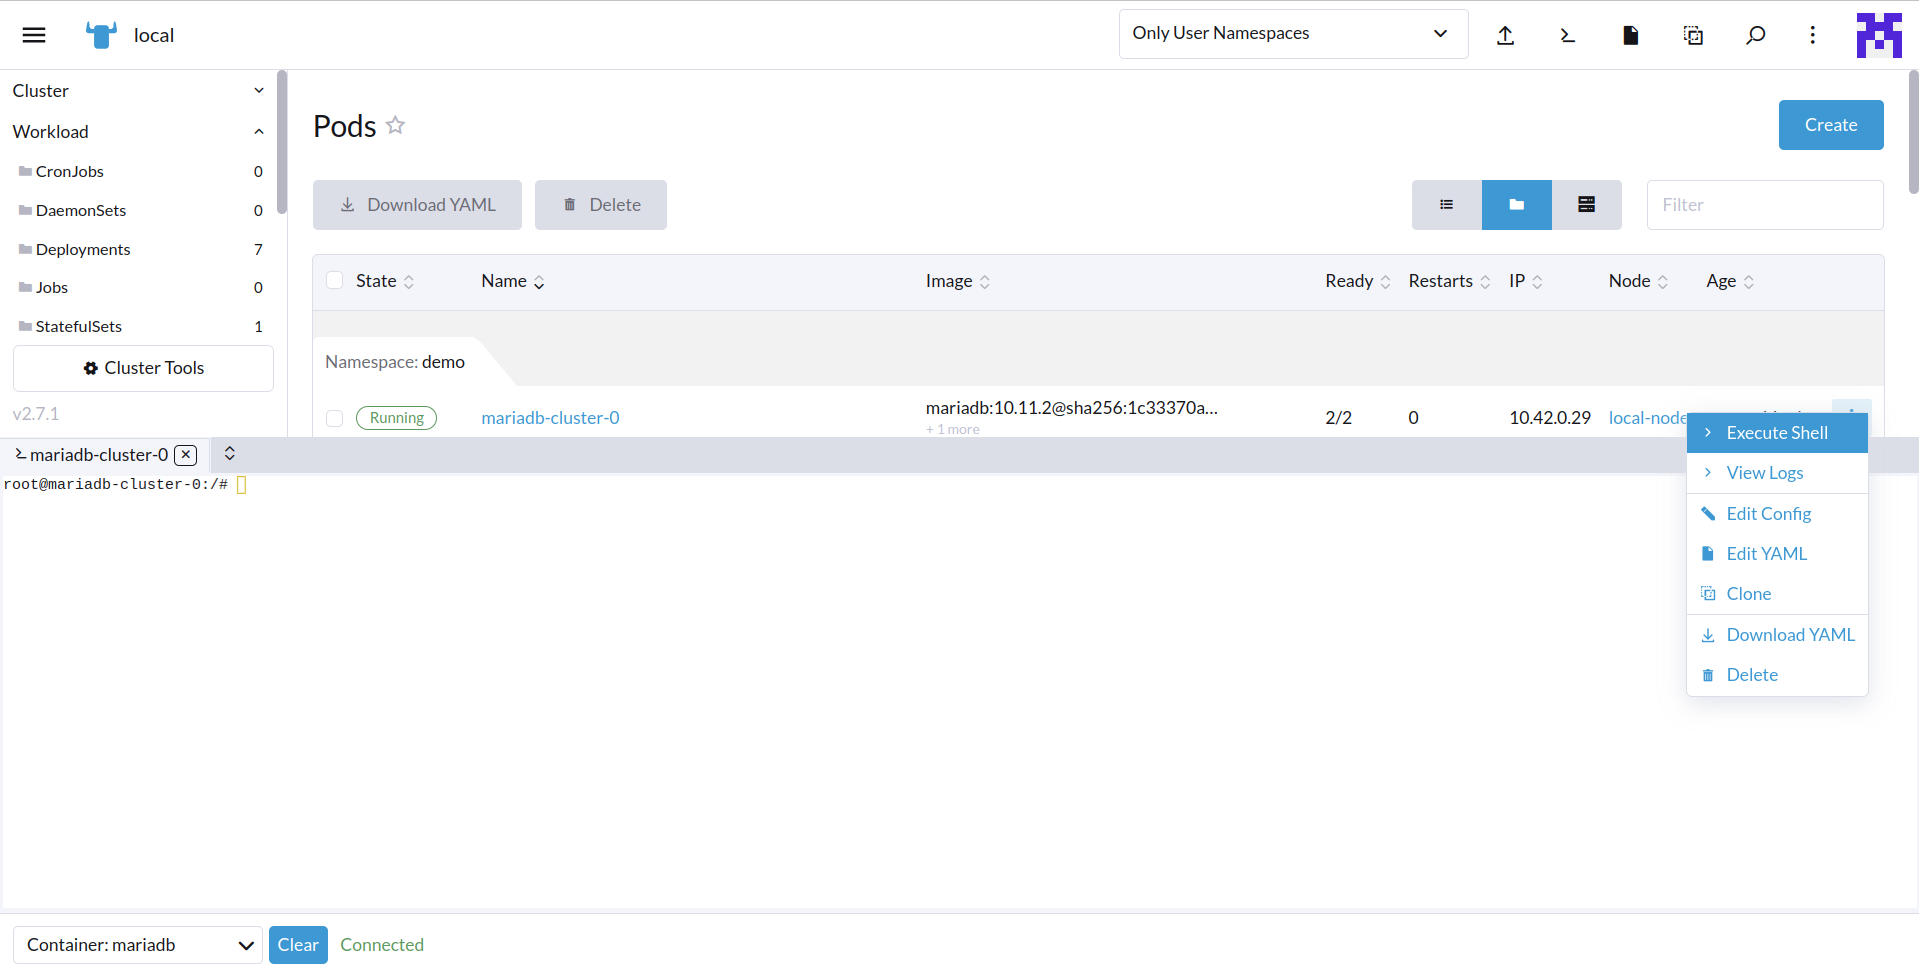
To connect to the MariaDB database, we can use the mariadb-cluster-0 pod. click the Execute Shell button on the right side of the row. In the pop-up window, Run the following command to connect to the MariaDB database:
bash-4.4# mariadb --user=root --password='wU*ja;We6IsSRft9'
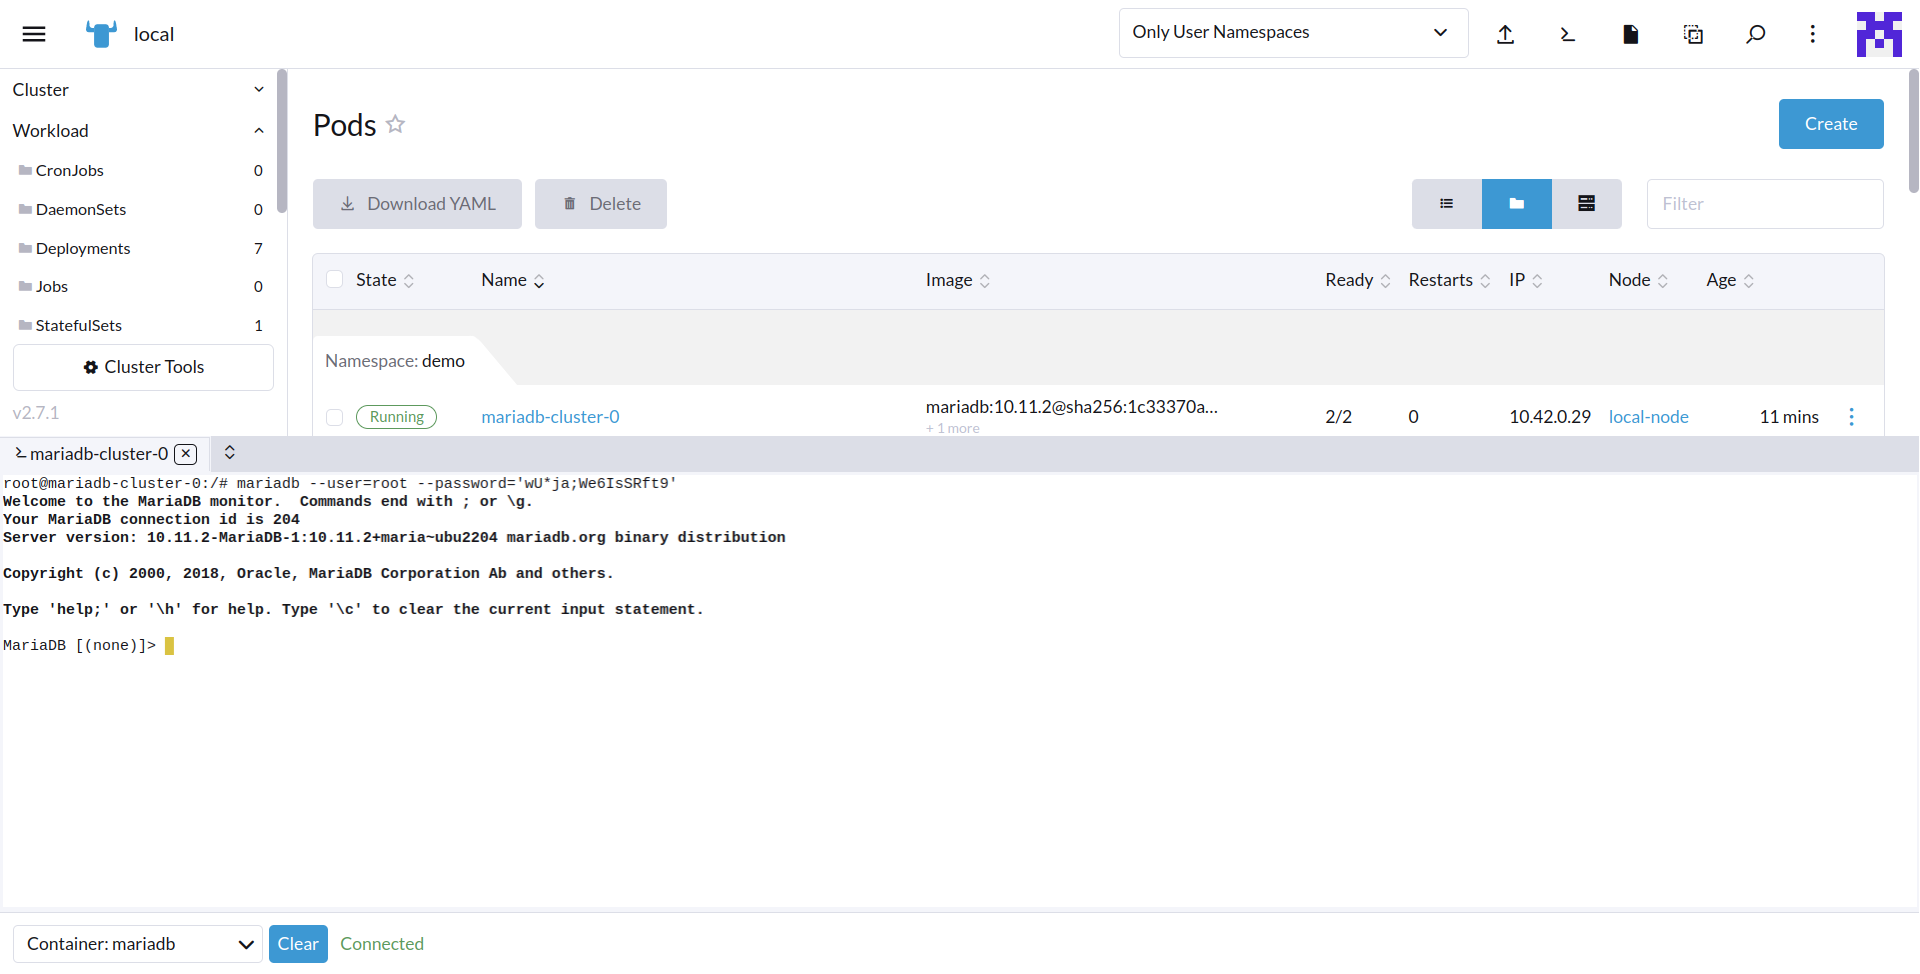 This will connect you to the MariaDB database using the
 root user and the password we get from the mariadb-cluster-auth secret.
Insert Sample Data
Now, we are going to insert some sample data to our MariaDB database.
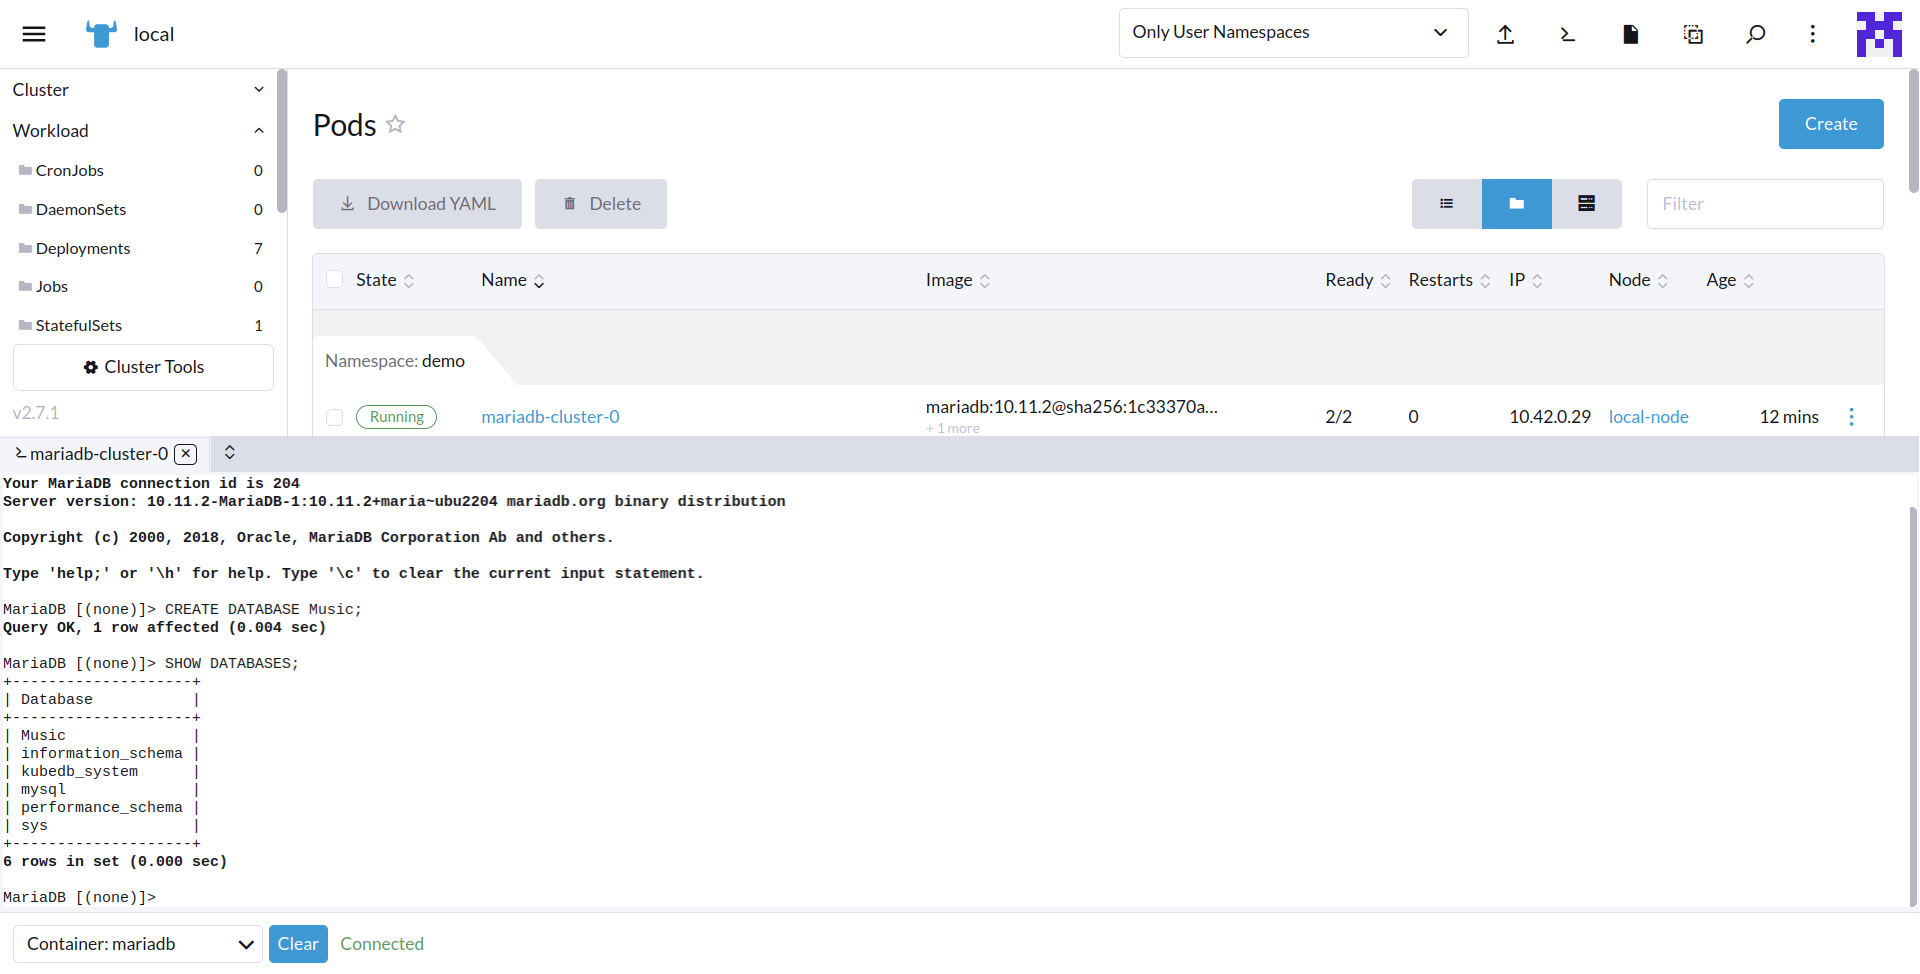
To insert sample data into our MariaDB database, we will create a new database Music in MariaDB and then Verify it by executing the following commands,
MariaDB [(none)]> CREATE DATABASE Music;
MariaDB [(none)]> SHOW DATABASES;
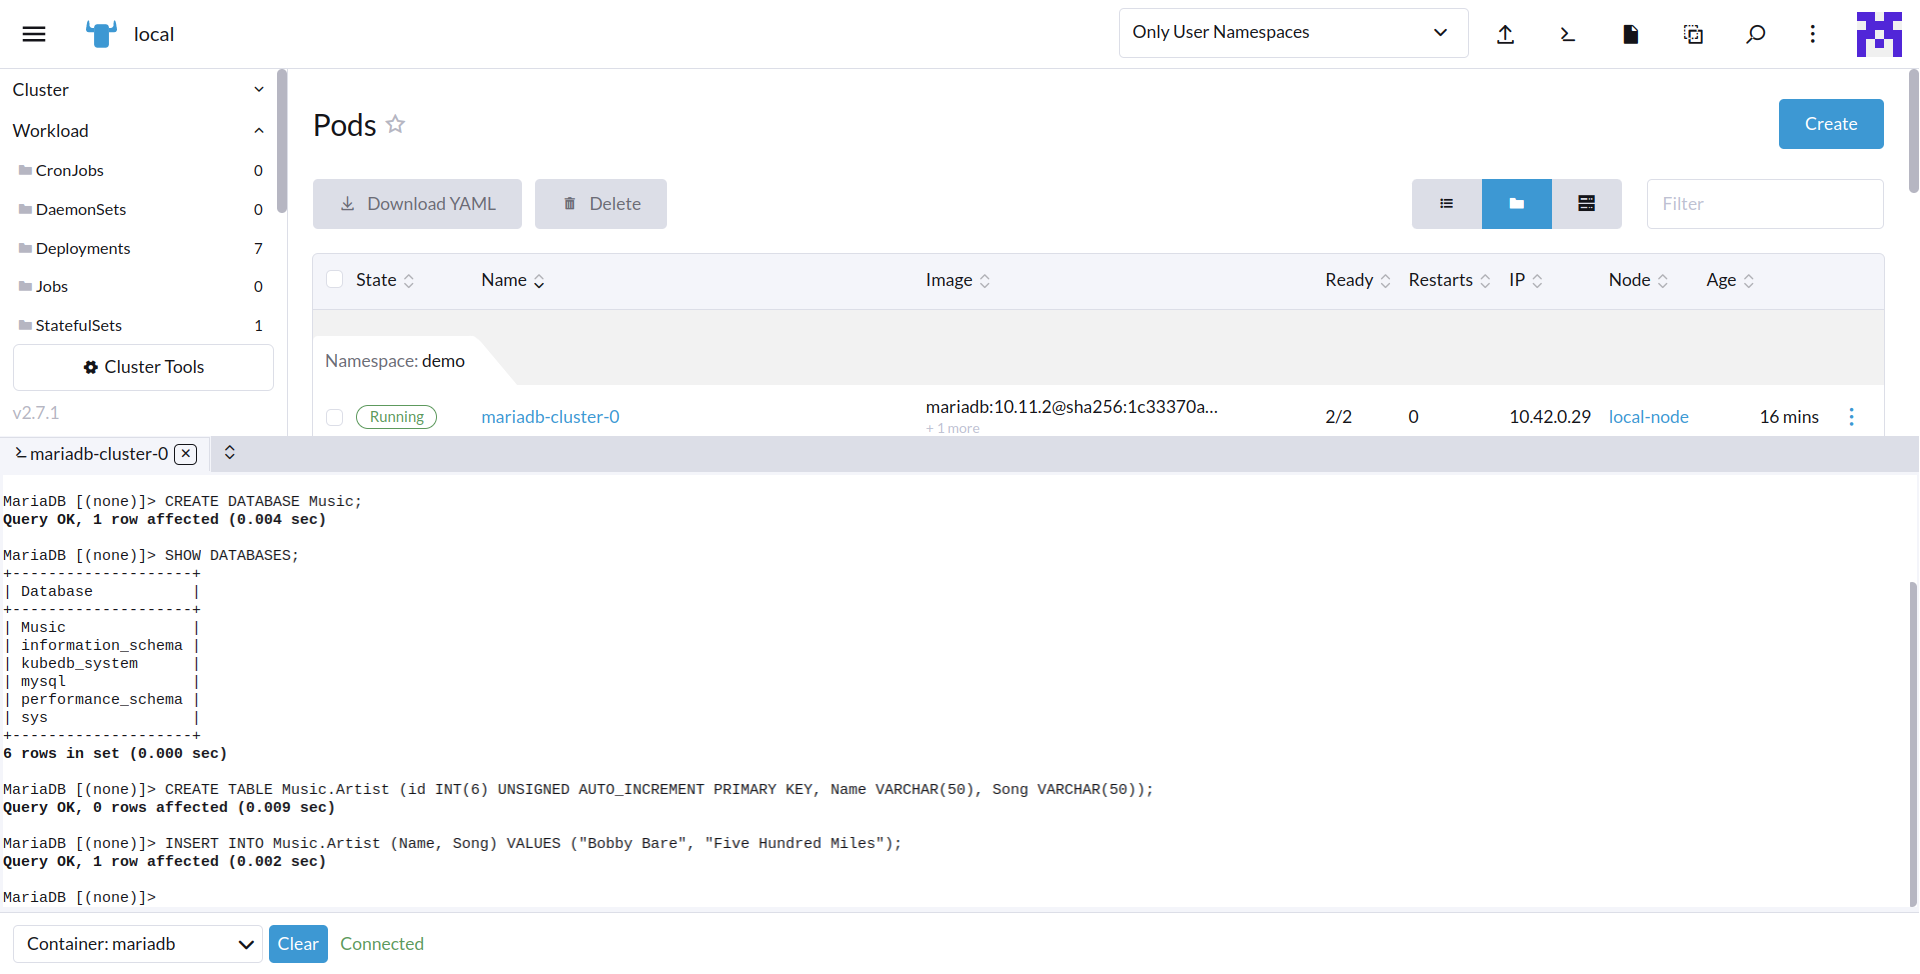
Then we will create a new table in the “Music” database by executing the following commands, These commands creates a new table named “Artist” in the “Music” database, with three columns: “id”, “Name”, and “Song”. Also, we are going to insert some sample data into it.
MariaDB [(none)]> CREATE TABLE Music.Artist (id INT(6) UNSIGNED AUTO_INCREMENT PRIMARY KEY, Name VARCHAR(50), Song VARCHAR(50));
MariaDB [(none)]> INSERT INTO Music.Artist (Name, Song) VALUES ("Bobby Bare", "Five Hundred Miles");
Now,verify that the data has been inserted into the database by executing the following command:
MariaDB [(none)]> SELECT * FROM Music.Artist;
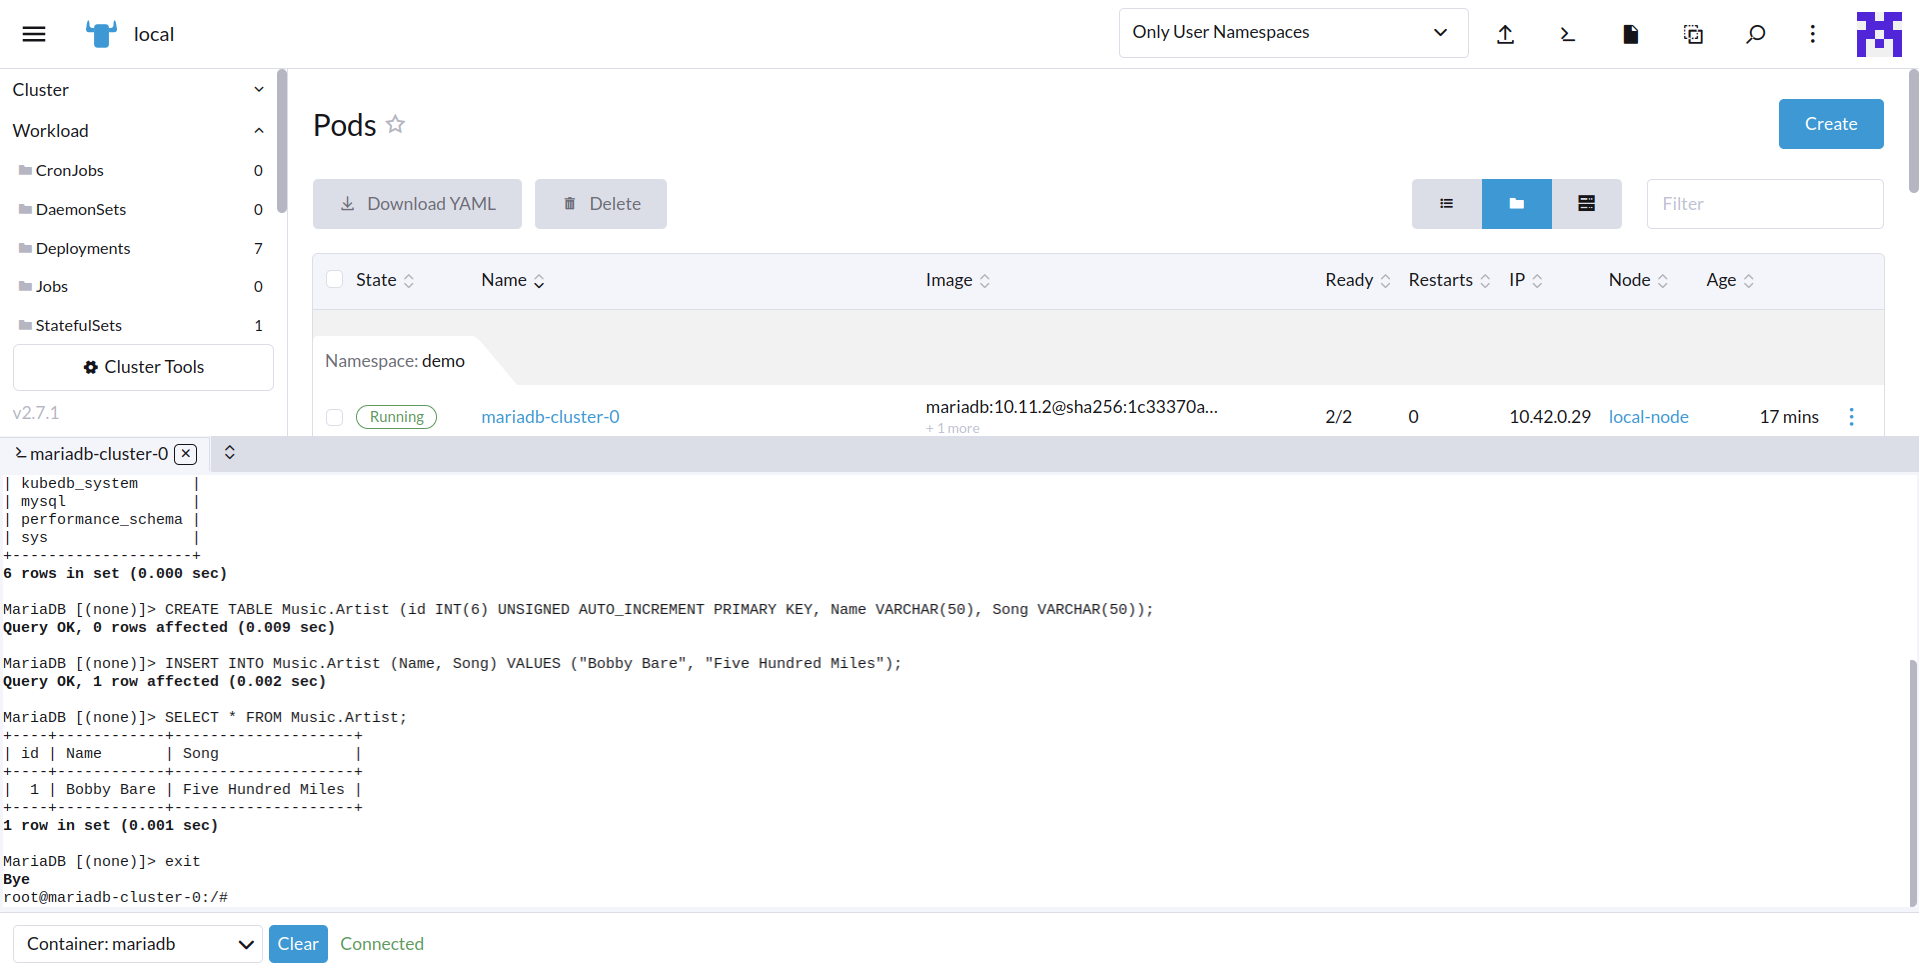
We’ve successfully inserted some sample data to our database. More information about Run & Manage Production-Grade MariaDB Database on Kubernetes can be found HERE
If you want to learn more about Production-Grade MariaDB in Kubernetes you can have a look into that playlist below:
Support
To speak with us, please leave a message on our website .
To receive product announcements, follow us on Twitter .
To watch tutorials of various Production-Grade Kubernetes Tools Subscribe our YouTube channel.
More about MariaDB in Kubernetes
If you have found a bug with KubeDB or want to request for new features, please file an issue .